Deconvolution Basics: PSF, Deringing, and Masks
This article is compiled from notes taken in 2021; some tools or workflows have since been updated, so please keep that in mind while reading.
It seems a lot of fellow hobbyists turn pale at the mere mention of the Deconvolution process, deeply afraid of ruining the image, or feeling that they spend a lot of time yet don’t get good results.
In fact, doing deconvolution well isn’t that scary. First, your luminance channel image needs to be in the linear state. Beyond that, you need three magic weapons:
- PSF (Point Spread Function): can be made manually or generated automatically by the software.
- Local Deringing Support (bright-star mask): generated automatically by the software.
- Deconvolution Mask: limits the range of application, and needs to be made manually.
The Workflow
Once the three magic weapons are ready, the operation that follows isn’t actually complicated:
- Create a Preview window over a small area of the image.
- Adjust the deringing parameters in the deconvolution process, applying only to this preview window.
- Once you’ve confirmed it’s fine, apply it to the whole image, and you’re done.
For someone very practiced at the operation, it can usually be finished in 15 to 20 minutes.
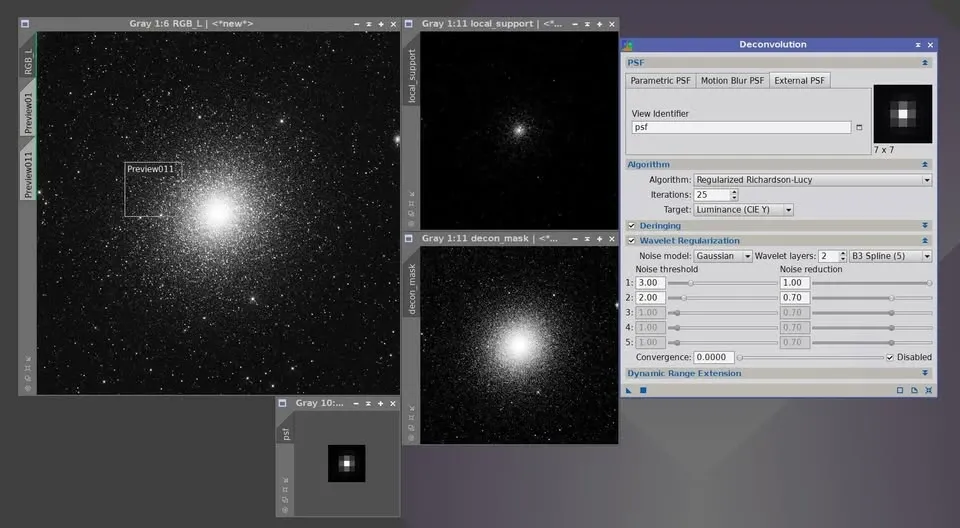
Haven’t done deconvolution on an image yet? Why not give it a try—it’s really not as hard as you’d imagine.