An Overview of the PixInsight Linear-Stage Workflow
Deep-sky image post-processing can broadly be divided into two stages, linear and nonlinear. This article covers an outline of the workflow in the linear state — the steps may not look like many, but they’re the foundation of the entire post-processing.
Display and Workflow in the Linear Stage
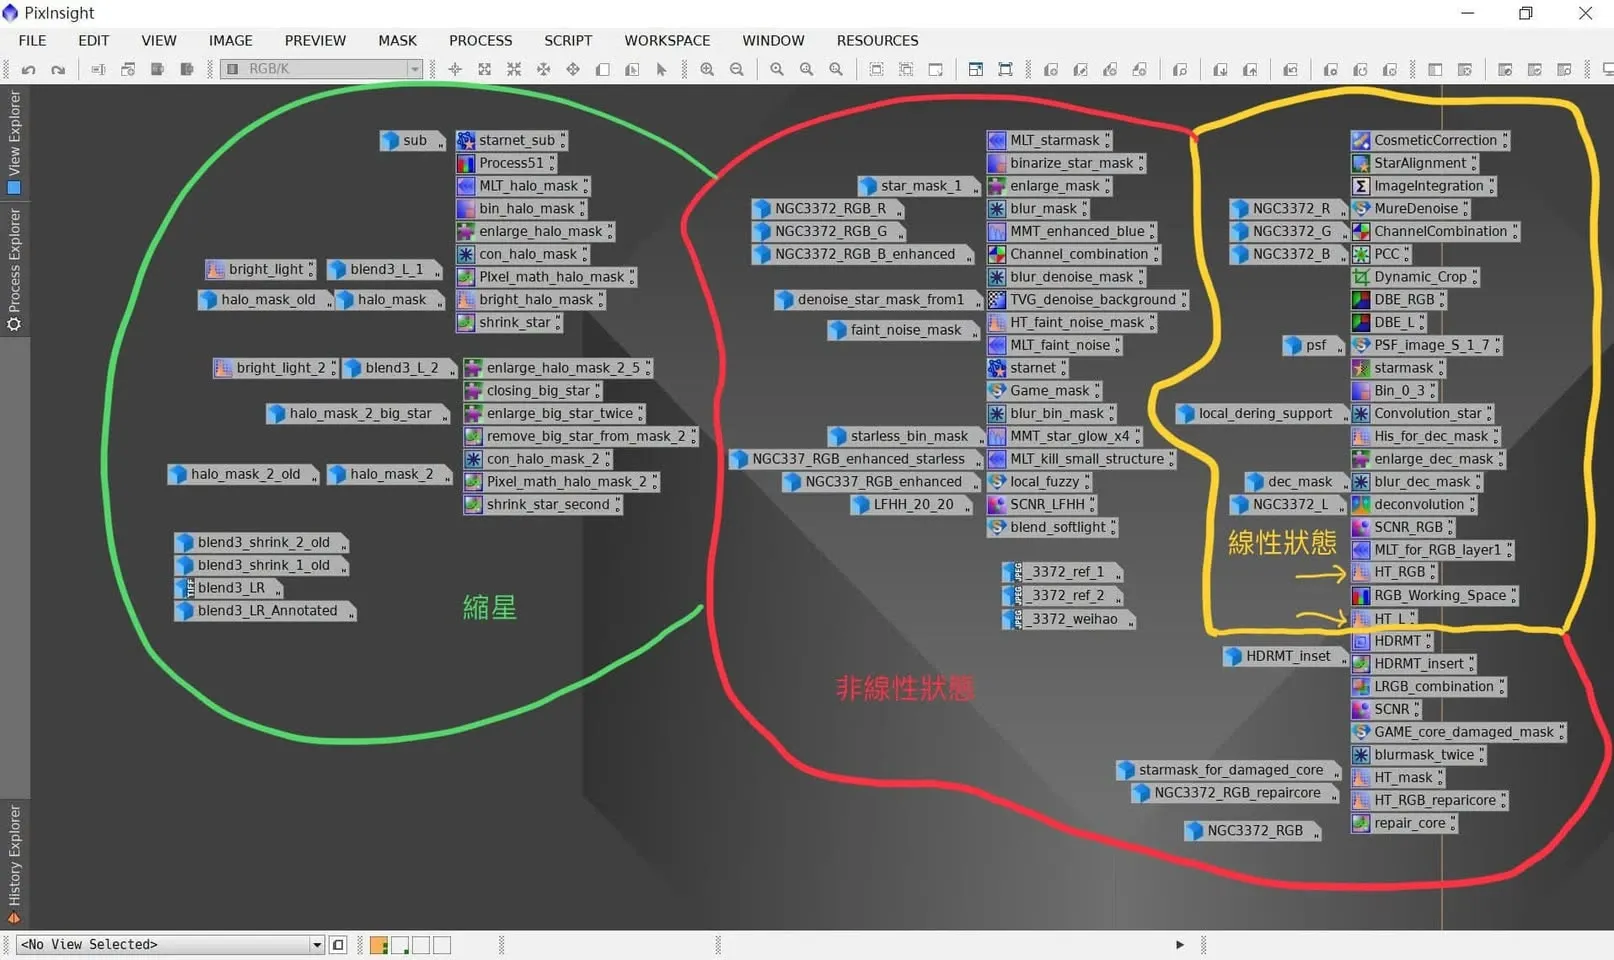
In the linear state, you mainly use the STF (Screen Transfer Function) tool as a display aid, which also helps in adjusting the HT (Histogram Transformation) tool. Taking an image shot with a mono camera as an example, the workflow roughly goes:
0. Preprocessing: Calibration, Cosmetic Correction, Debayer (only needed for color cameras), Star Alignment, Integration.
Next, do a main round of noise reduction, then move into processing each channel separately:
- Luminance channel: DBE, deconvolution.
- Color channel: color calibration, DBE, removing excess green, and removing pixel-level noise.
After that, each of the luminance and color channels gets a large nonlinear stretch (marked with small yellow arrows on the flowchart), in preparation for combining the luminance and color channels and formally entering nonlinear-stage processing.
A Few Reminders
The processing steps in the linear state may not be many, but they’re absolutely crucial to the success or failure of the later nonlinear stage, and worth studying carefully.
Also, galaxies and nebulae actually differ little in their linear-stage processing — to some extent they share almost all the same steps, so there’s no need to memorize them as two completely different workflows.
Finally, I want to stress this: across the whole post-processing workflow (especially the nonlinear stage), a large part of the effort actually goes into making masks. Masks are an indispensable, must-learn fundamental of astrophotography post-processing, but also one of the hardest things to truly master. The sooner you start practicing this, the better.