Narrowband Color: SHO Palettes and Common Color-Mapping Scripts
Coloring narrowband images is the first wall many people hit when they move from RGB/LRGB into the world of narrowband. This article pulls together the concepts and tools I’ve accumulated over the past few years of narrowband color work — from the basic ideas, through the principles behind SHO palettes, to channel normalization and all sorts of handy scripts — so that those still finding their way have a map to follow.
First, build the right mindset
Narrowband astrophotography really isn’t as simple as stuffing SHO into the RGB channels in various permutations (SHO, HSO, HOO…). Doing that usually gives results that leave you unsatisfied.
It’s just like processing a nebula after star removal: it isn’t solved by simply putting the stars back — do that and you often end up with faded stars or shifted colors instead. The real know-how is hidden in exactly these crucial details.
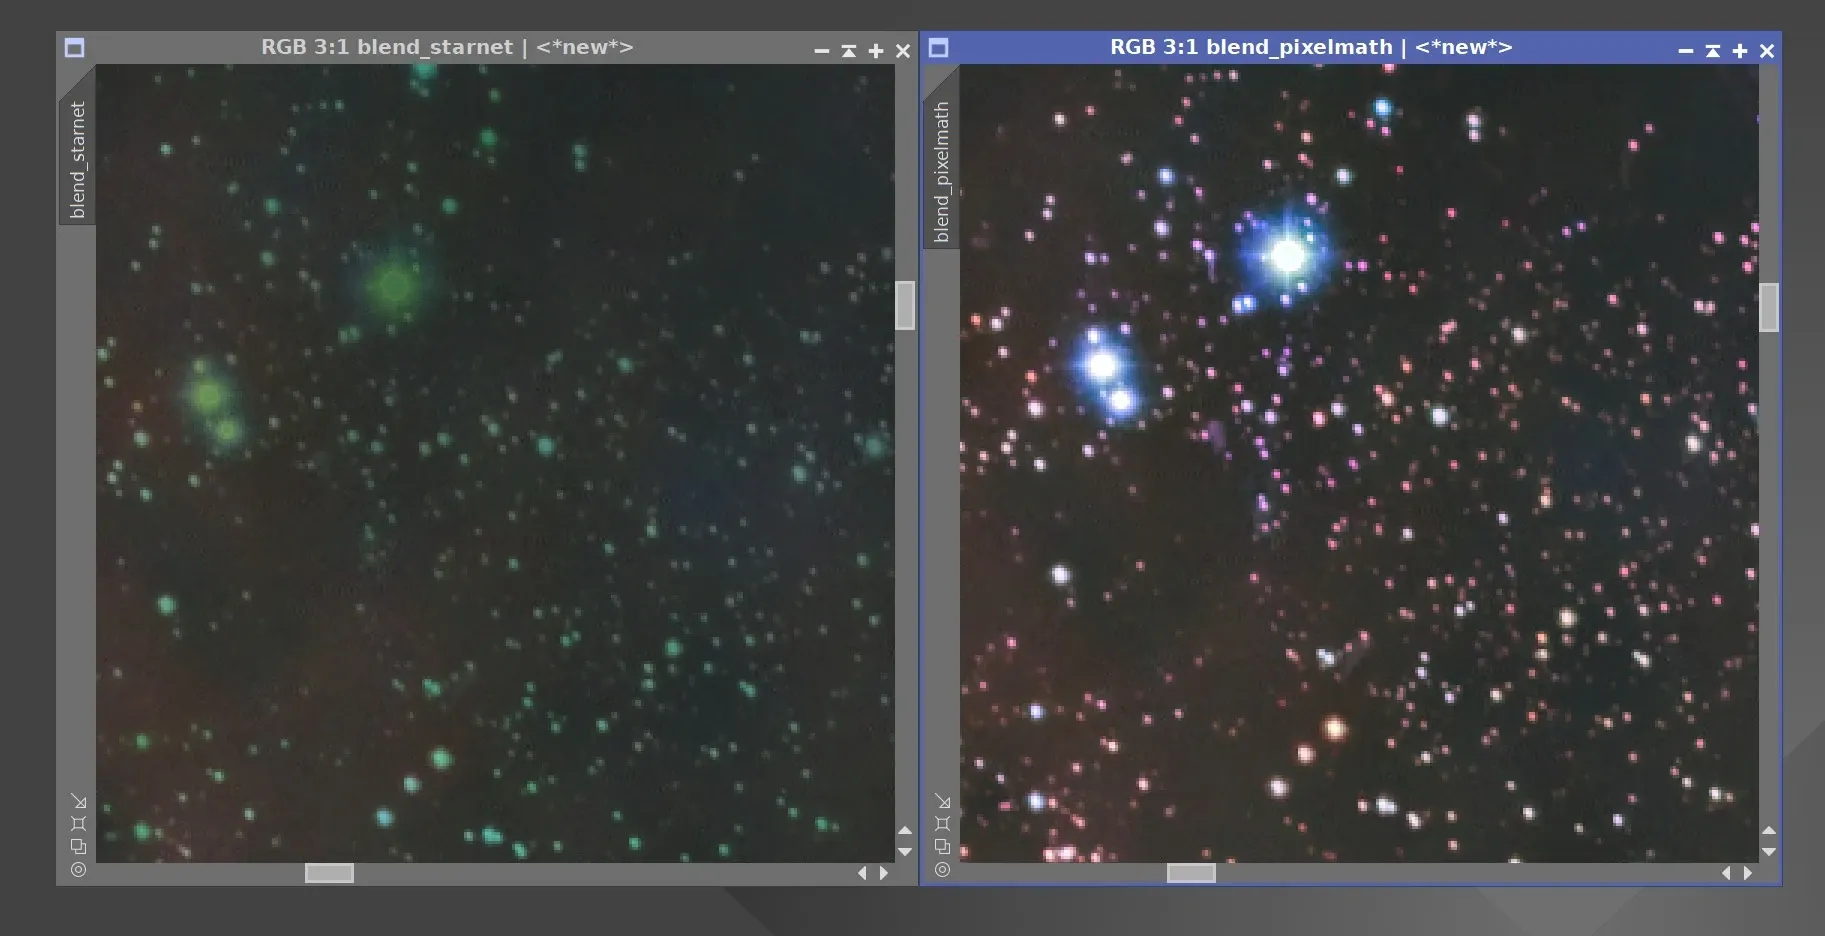
So my advice is this: beginners taking up narrowband processing should first get their own house in order. Master RGB and LRGB thoroughly, then move into narrowband step by step. The exception is if you can program and have no trouble at all with PixelMath, in which case you might advance on both fronts at once — but I have to say that isn’t easy.
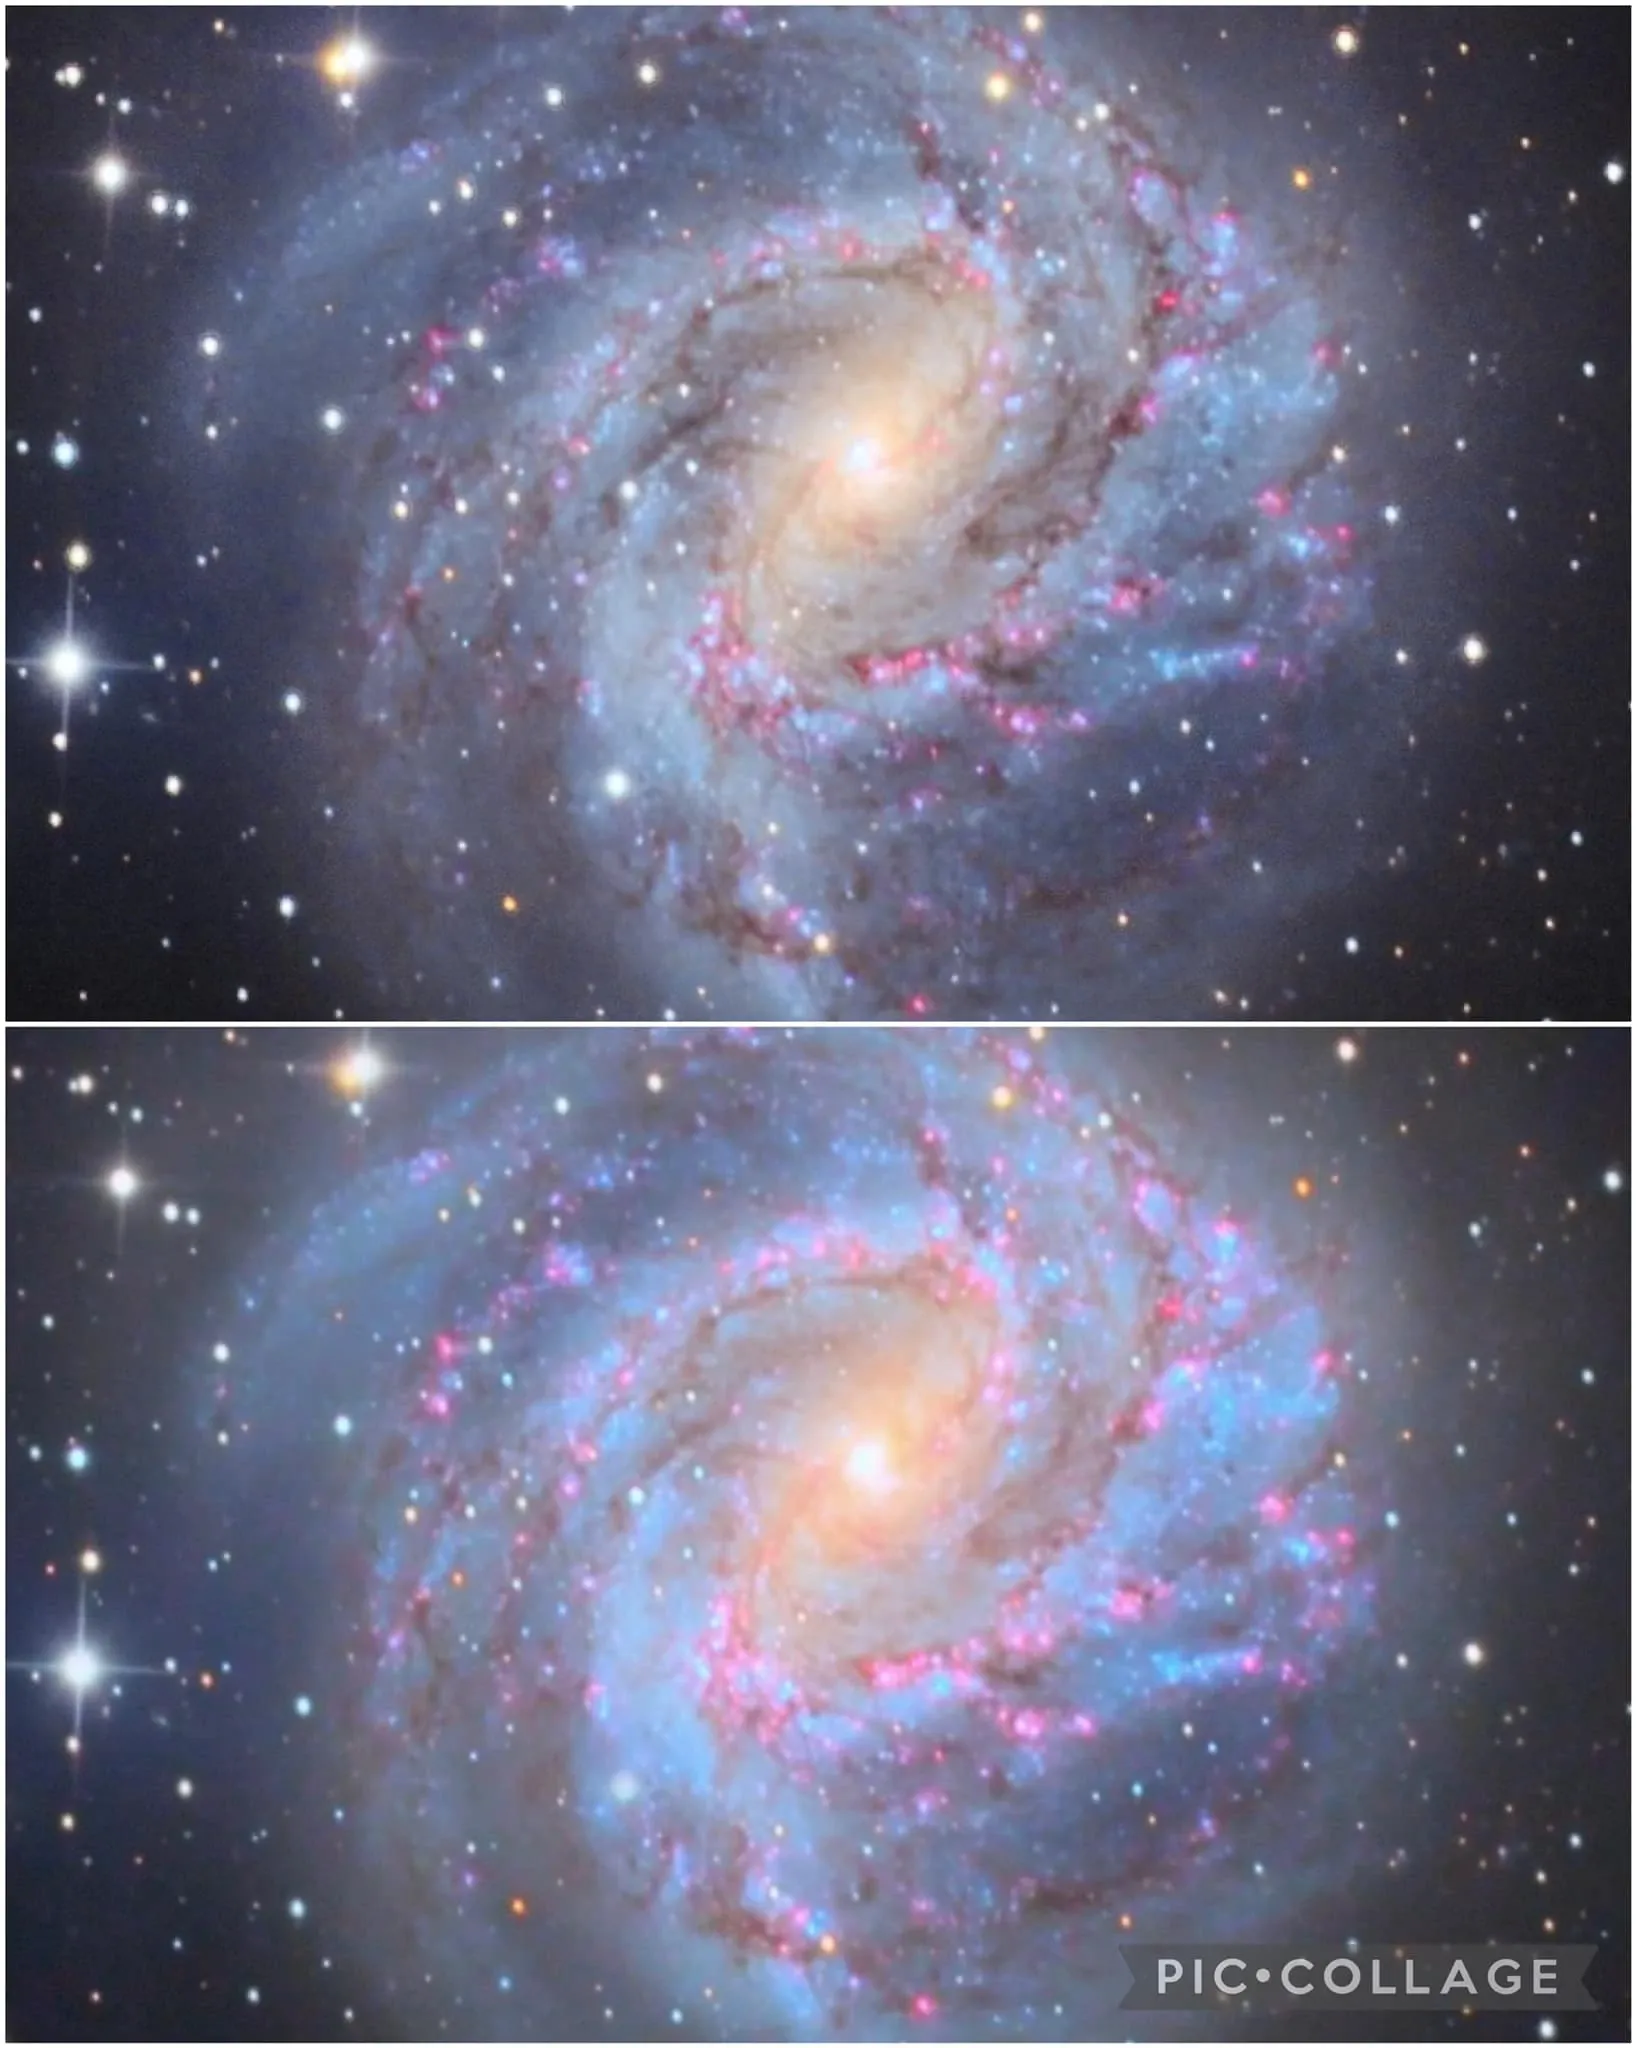
The image below shows the same source file processed at different stages of learning. Just the single matter of “how to color the dust” — going from understanding the principle to actually being able to do it — took me two years to learn. It’s not as simple as nudging the saturation up.
What is an SHO palette
SHO coloring is a common “narrowband color-mapping method” in astrophotography. It uses the emission characteristics of three gases, assigning the signals from different wavelengths to different colors in post, and in doing so “visualizes” the distribution of the various elements inside a nebula.
Its biggest benefit: a nebula that looks entirely red to the naked eye gets separated into layers under SHO, making its structure, boundaries and energy differences crystal clear. And SHO doesn’t have one fixed look — hue, saturation and intensity can be adjusted entirely according to the photographer’s style and taste, so it is both a method of scientific expression and a form of cosmic art.
Below, three images demonstrate three different mapping approaches.
1. Oxygen blue, sulfur red, hydrogen in the middle
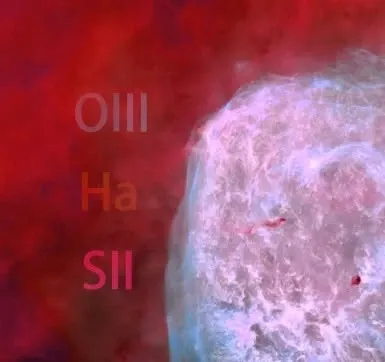
- OIII (oxygen) → ice blue
- Ha (hydrogen) → dark orange-yellow
- SII (sulfur) → bright red
Oxygen-rich regions appear ice blue, sulfur-rich regions are red, and hydrogen sits between red and green, turning into a warm, dark orange-yellow glow; some places where it meets oxygen come out pink.
2. A natural-looking palette: hydrogen green, oxygen blue, sulfur red
This image shows another way of doing SHO: Ha maps mainly to green, OIII to blue, and SII to red. It differs slightly from the traditional Hubble palette; this mapping brings the nebula’s colors closer to a natural appearance, while still preserving the way narrowband images reveal element distribution.
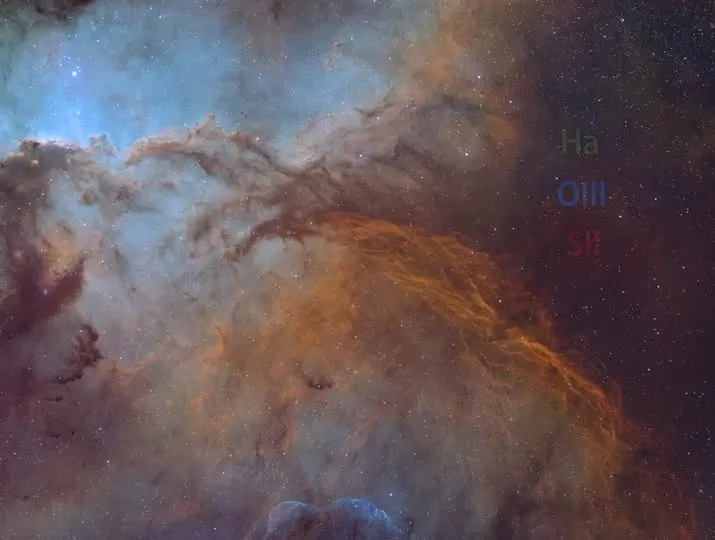
- Ha → a darker olive/grass green — not a vivid, brilliant green but a calm, natural green with a settled feel, used to sketch out the nebula’s main framework and contours.
- OIII → sky blue to lake blue, like a clear sky or a shallow sea surface, bringing a cool, transparent feeling; it mostly spreads across large areas, creating an atmosphere of vastness and ethereality.
- SII → brick red / scorched orange-red — not as harsh as pure red but a warm red with an orange cast, looking heavier, mostly concentrated at the bottom and edges of the image, setting off a sense of energy like flame or lava.
With coloring like this, the extent of the different ionized elements is clear at a glance, giving the nebula a three-dimensional quality like a “colored map.”
3. A palette close to the traditional Hubble palette
The last image in this series uses an SHO coloring close to the traditional “Hubble palette”: SII maps to red, Ha to green, OIII to blue. This mapping was first popularized by the Hubble Space Telescope, with the goal of converting the three narrowband wavelengths into colors the human eye can distinguish.
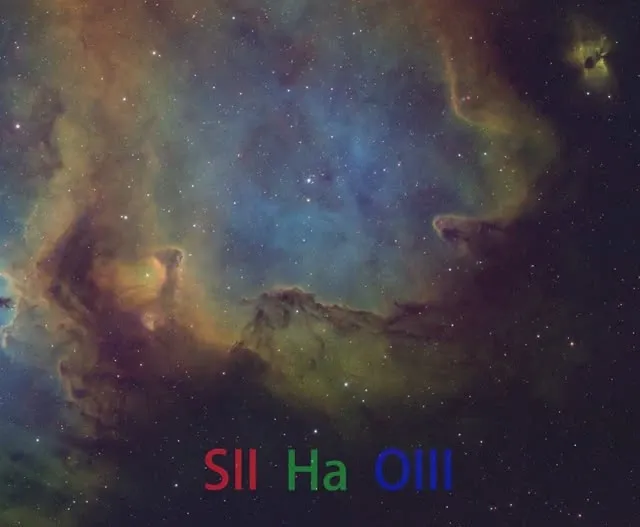
- The red of sulfur (SII) provides steady transitional layers
- The green of hydrogen (Ha) forms the main structure and contours
- The blue of oxygen (OIII) spreads across the voids and edges
This combination brings out the nebula’s complex morphology and energy differences, transforming gas that was once hard to tell apart and stacked layer upon layer into a cosmic scene like an oil painting.
Note: The image above is at the coloring stage and has barely been enhanced yet, so it appears dim.
Channel normalization and the trade-offs of “one-click color conversion”
In recent years it has become popular online to use PixelMath to convert HOO into an SHO palette with a single click — very easy to operate, fast, and friendly to beginners. But after trying it on images I shot early on with a dual-band filter, I found the results tend to look very much alike (lacking variety).
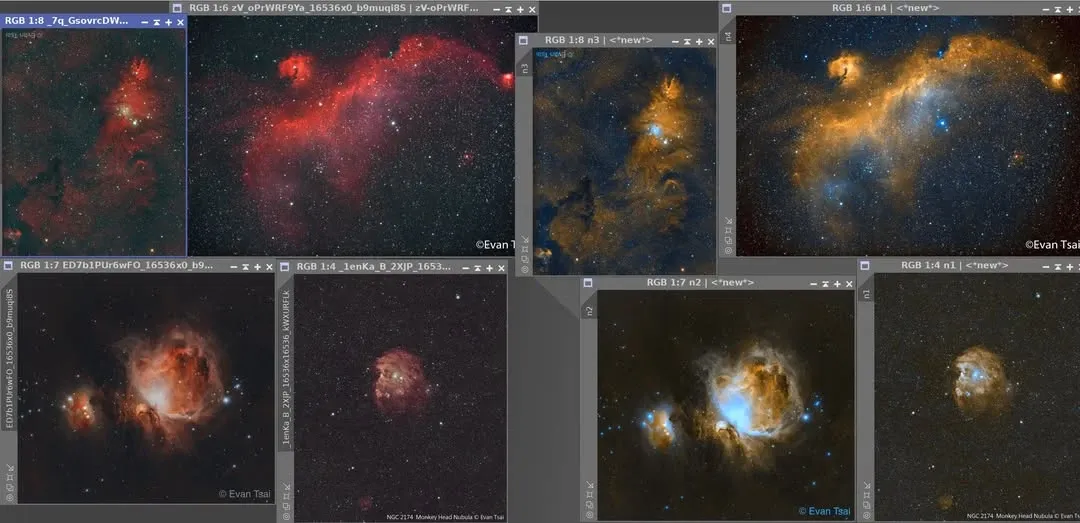
My advice when using formulas like these:
- For beginners: use them with caution, and adjust the colors yourself when necessary. Also bear in mind that these PixelMath formulas only normalize the channels — they have no other function for enhancing detail — so you should still get the fundamentals right first and do the coloring last.
- For advanced users: watch the original author’s video to understand the principle, break the steps down and make them your own, and add one more tool to your toolbox. When you hit a problem you can’t immediately solve, having another tool to switch to helps.
Commonly used narrowband color scripts
PI’s processes and scripts can be developed and released by community contributors — which is precisely why, over the past few years, PI has been able to develop so quickly in step with the community for astro image processing. Think an official process is poorly written or updated too slowly? You can just write your own. If you’re an amateur astronomy enthusiast who can program, the PixInsight forum is absolutely the place to show off your talents. Below are a few scripts I frequently use or recommend.
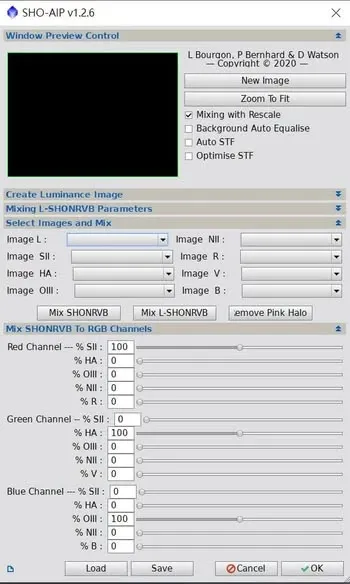
SHO-AIP
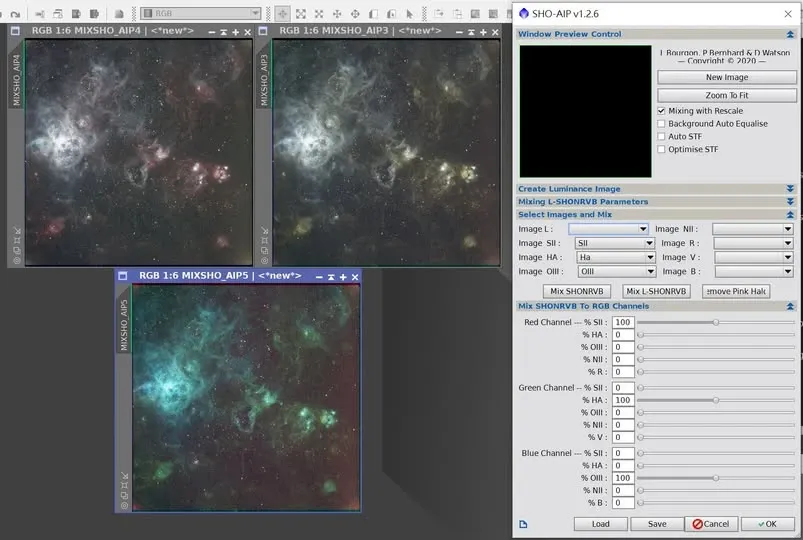
If mixing channels with PixelMath scares you, SHO-AIP is a great alternative. It works in either the linear or nonlinear state and lets you preview the result immediately. The HSO, HOO and SHO in the image below were all produced with this script. If PixelMath feels unintuitive to you, this is the one to use.
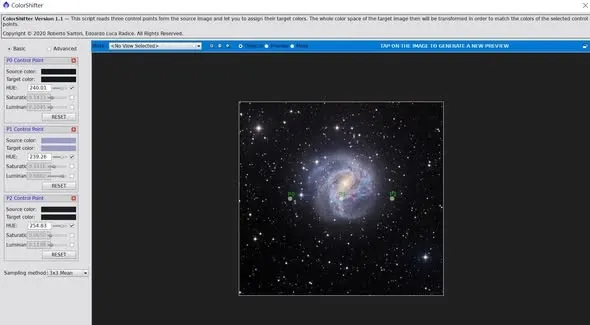
Color Shifter
Another script commonly used for coloring narrowband images, well suited to fine-tuning hue. If it isn’t built into your PI, a quick Google will turn up a download link.
NB Colour Mapper
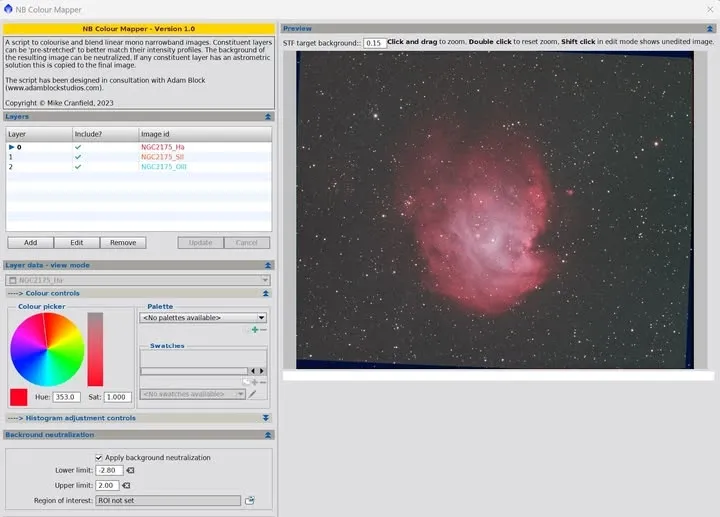
This script was developed jointly by Mike Cranfield and Adam Block, and its distinguishing feature is that it can color the narrowband channels in the linear state. Most common channel-mixing scripts operate in the nonlinear state, so combining in the linear state lets the image retain more room for subsequent processing after the channels are merged.
NB to RGB Star Combination
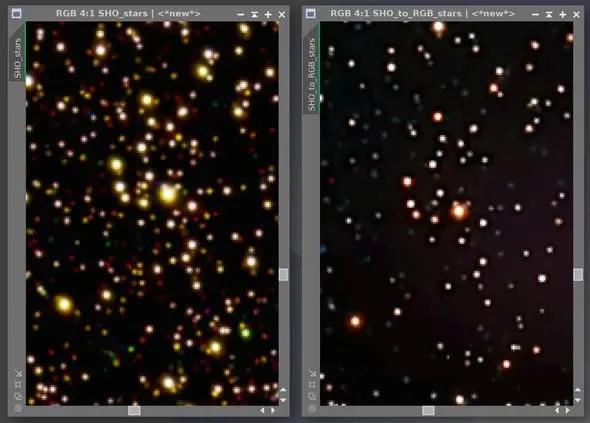
If you’ve shot narrowband (mono or dual-band) but haven’t shot RGB stars, I’d recommend separating the stars in the linear state and then using this script to convert the linear narrowband stars into stars close to RGB colors — it works quite well.
Traditionally, dealing with those magenta or green narrowband stars meant either pulling the color saturation out, or going through fairly involved steps to produce RGB stars; this script gets you reasonably normal-colored RGB stars in a single step. The script is available from setiastro’s PI script repository: https://raw.githubusercontent.com/setiastro/pixinsight-updates/main/
Official tutorial resources
Still watching those processing videos where not even the author quite grasps the principles? Still applying ready-made PixelMath formulas only to keep running into color problems, or results that look flat and dull?
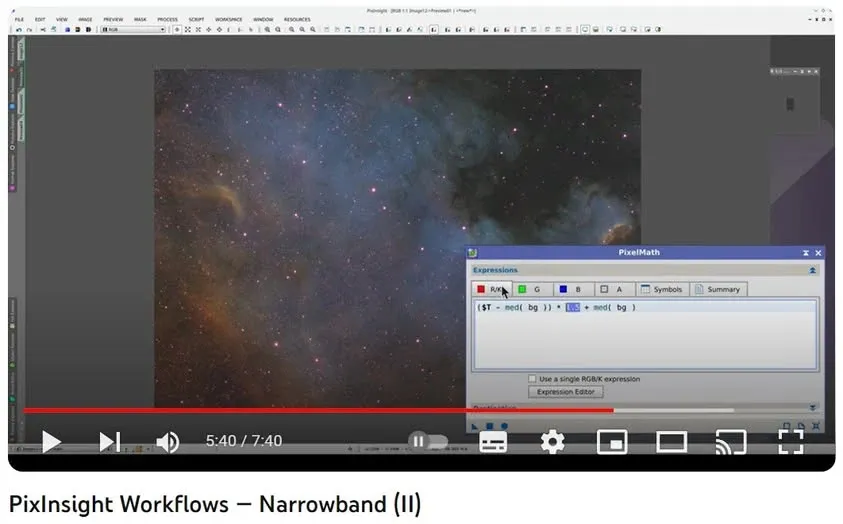
The PixInsight team has released narrowband image-processing tutorial videos on their official YouTube channel, explaining the basic elements of narrowband processing along with the PixelMath formulas. If you’re not yet familiar with narrowband processing, they’re well worth watching; and for scripts like NB Colour Mapper, Adam Block’s channel also has detailed explanations and demonstrations.
PixInsight’s official narrowband image-processing tutorial videos (three in total):
- https://youtu.be/WYPVtmhXJYk?si=-4lvZ2MkV3nXJUy-
- https://youtu.be/c-JnE7LXtn8?si=lIkN-oGzI0yjvf19
- https://youtu.be/mEdgzaiWmC0?si=s5vrp46YtKYWKsVD
For a detailed explanation of NB Colour Mapper, search Adam Block’s YouTube channel.