Deconvolution: Masks, PSF, and Star Repair (A Historical Look)
This article is compiled from notes taken between 2020 and 2022, before BlurXTerminator came along, on manual deconvolution. In PixInsight today, this step has mostly been replaced by AI tools like BXT—faster and better, with no need to hand-build a pile of masks. Still, understanding the principles of manual deconvolution and the problems it tackles remains valuable: it shows you what BXT is solving behind the scenes, and it helps you pinpoint where things went wrong when you run into trouble.
What Deconvolution Does, and Why You Do It in the Linear Stage
Let me start with a measurement. PixInsight has a script called FWHMEccentricity that can measure and plot the distribution of FWHM (full width at half maximum) and Eccentricity. I compared the stars before and after deconvolution: after deconvolution, the FWHM of the Moffat4 stars all shrank to below 2, and the Eccentricity improved as well.
A quick explanation of what these two numbers mean:
- Smaller FWHM, and the stars look smaller;
- Smaller Eccentricity, and the stars look rounder.
This is exactly why doing deconvolution in the linear state is recommended—this process substantively makes the stars smaller and rounder.
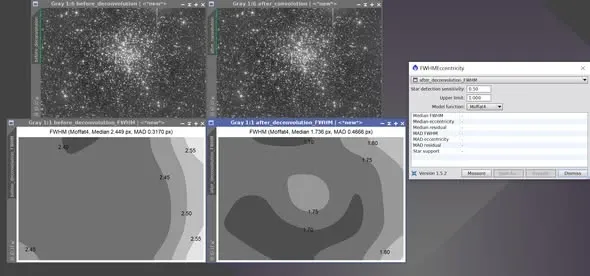
A few prerequisites to add: for color images, extract the luminance channel first before doing it; the image must be in the linear state. If you use a mono camera, I always deconvolve the luminance channel in the linear stage, and the before/after difference is very obvious (especially clear when you zoom to 300%). Images from a color camera can be done the same way—likewise, just extract the luminance channel.
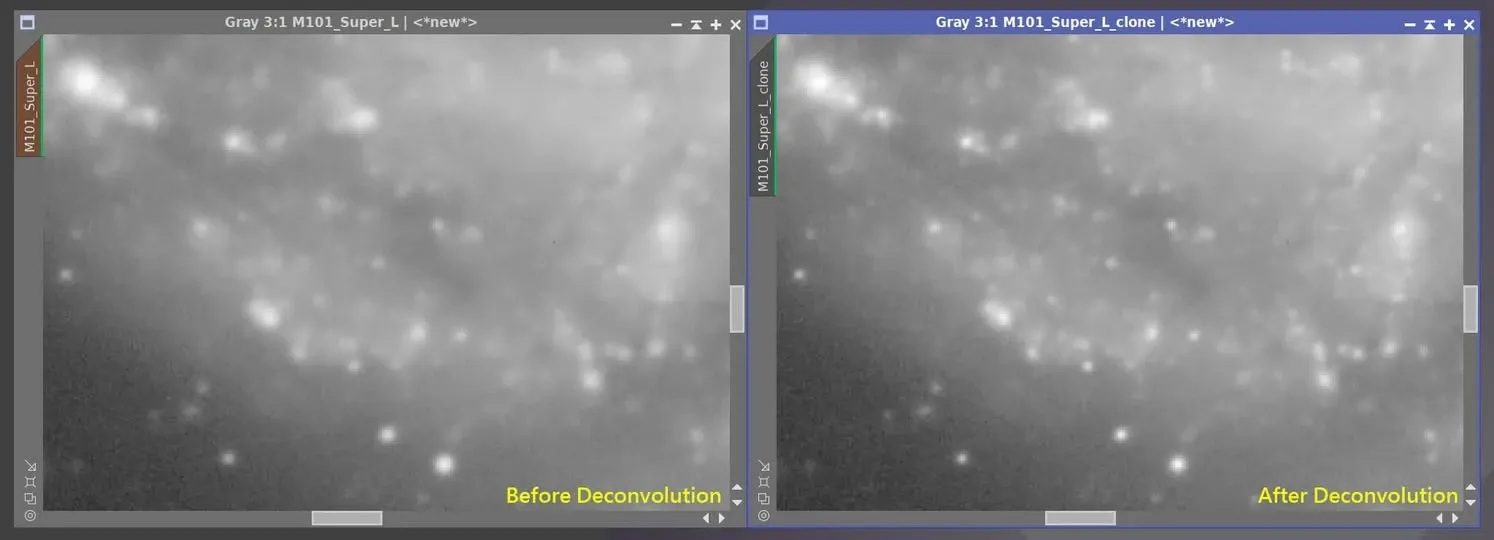
The Old Way: PSF, Local Support, and Object Mask—You Need Every One
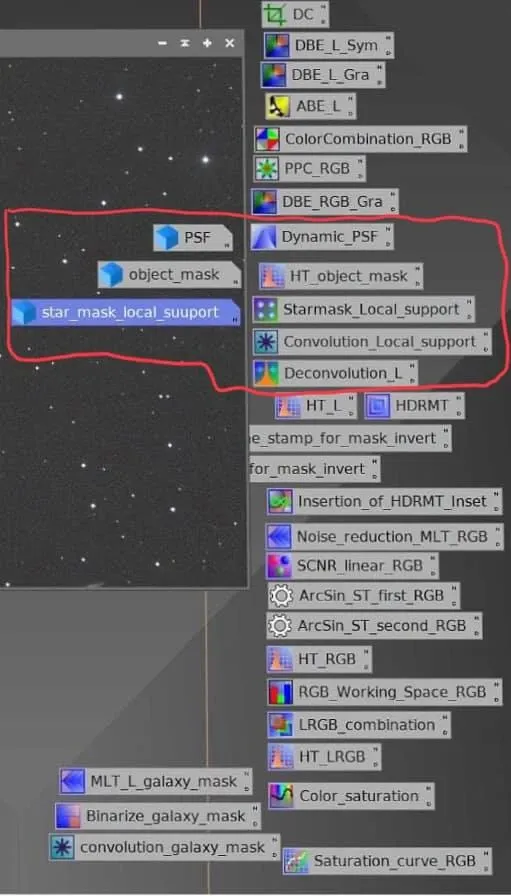
I always used to think deconvolution in PixInsight was a pain and very complicated—you have to make a PSF, a Local Support, and an Object Mask. Later I realized that these are actually quite basic; do it a few times and get the hang of it, and it’s actually pretty quick.
The real bottleneck isn’t the steps themselves, but the masks. Processing a single image, you make at least five or six masks on average. Back then the biggest bottleneck was actually the human brain, not the computer—the computer runs fast; it’s the human who has to judge and paint each one.
The Two Most Common Headaches of Manual Deconvolution
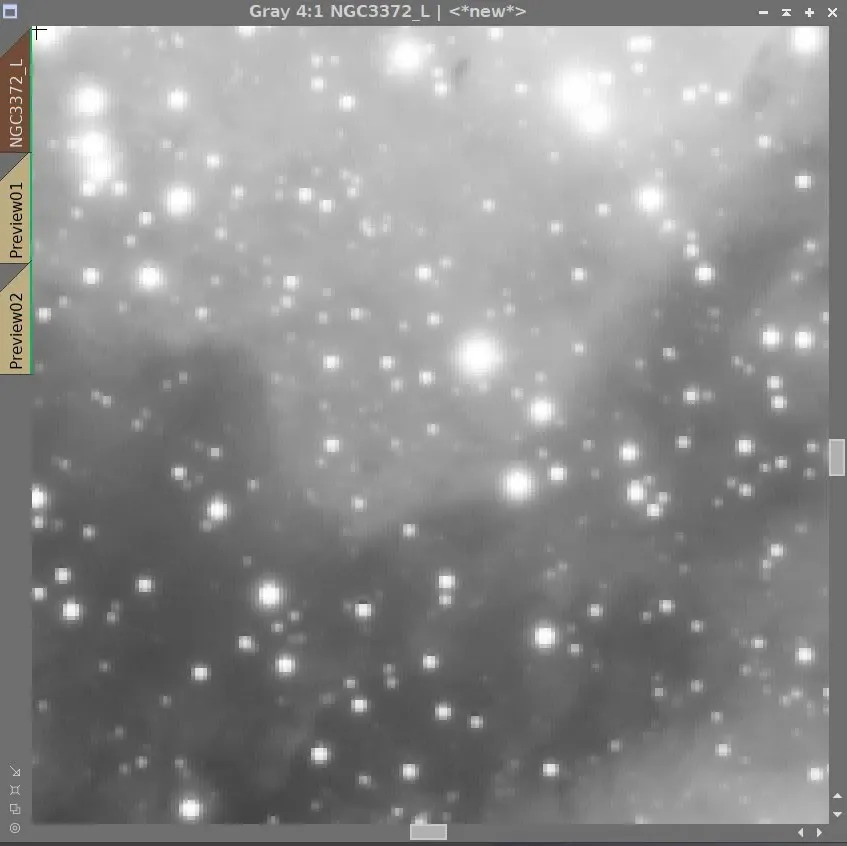
In the manual era, the most vexing problems with deconvolution were mostly concentrated in bright nebula regions:
- Faint stars within bright nebulae always end up with a black ring around them;
- Bright stars within bright nebulae get damaged at their centers.
Both of these problems are basically caused by a poorly made deconvolution mask. Back then I tried adjusting Local Support, but it made little difference; adjusting the mask improved things only slightly and never seemed to eliminate the problem entirely. The classic examples of these bright nebulae are M42 and NGC 3372.
The Price of a Poorly Made Mask: Hard Edges
The importance of the mask is clearest from the following comparison. The left image is a piece I processed two years ago, and the right one is a more recent piece, both shot with a CDK system 17 inches or larger.
The left image shows the common problem when the deconvolution’s big-star mask isn’t done well: the luminance of the big stars contracts too much, creating a distinct hard edge. Incidentally, Topaz Denoise AI produces the same problem when used without any mask—which is why I don’t recommend using it without a mask.
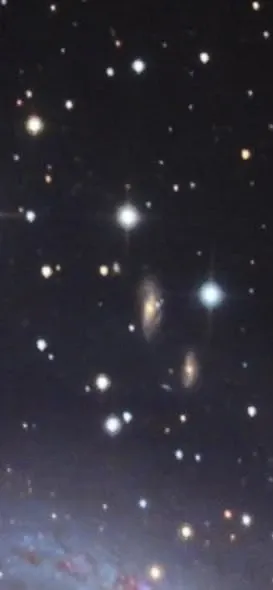
Sometimes, rather than writing out a heap of explanations, you’re better off spending the time getting the stars right. That saying fits the manual-deconvolution era particularly well—its success or failure hinges almost entirely on the grunt work of masking.
Closing Thoughts
Today, BXT has simplified all of this: no need to make PSFs by hand, no need to paint five or six masks, and it largely sidesteps the after-effects of a poorly made mask, like black rings and hard edges. But the goal deconvolution sets out to achieve has never changed—make the stars smaller and rounder, and recover the detail that the atmosphere and optical system blurred away. Once you understand what the manual era was up against, you’ll have a clearer sense of exactly what work BXT is saving you.