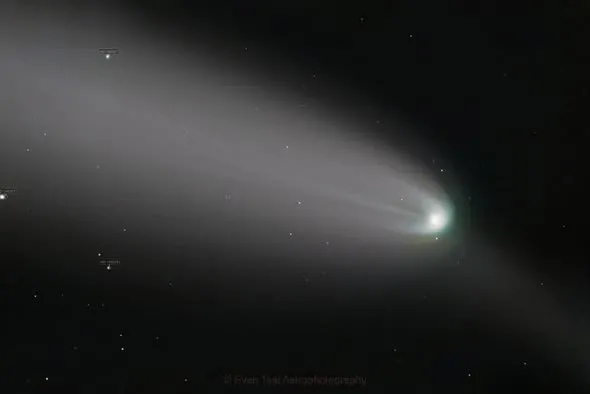
Processing Comets in PixInsight (Part 2): Comet Tsuchinshan at 1000mm
Part 1 of the series introduced the preliminary processing workflow for shooting Comet Tsuchinshan (Tsuchinshan-ATLAS, C/2023 A3) with a 135mm short focal length. This installment turns to long focal lengths — once the focal length reaches 1000mm or more, the processing strategy needs adjusting. For an introduction to the basic tools of comet processing, see the article “Comet Image Processing: A General Guide”.
Why Long Focal Lengths Need a Separate Workflow
A key step in the short-focal-length workflow is running Local Normalization or NSG on the images, normalizing the gradients of each frame before integrating. But once the focal length reaches 1000mm or more and the comet occupies most of the frame, the results of Local Normalization or NSG become unsatisfactory, because of the comet’s own changing light and its motion — the normalization algorithm gets thrown off by the large, moving comet.
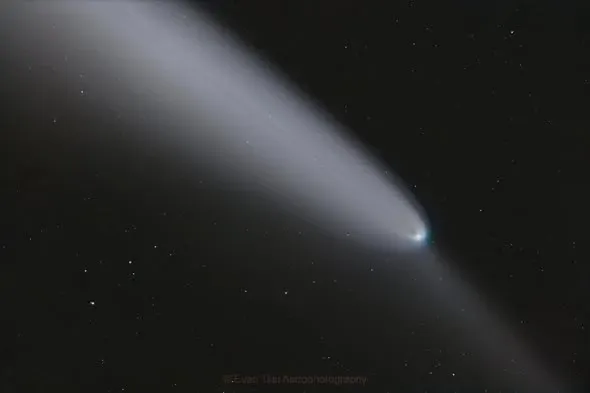
So for processing Comet Tsuchinshan shot at long focal lengths, I’ve trimmed the normalization part out of the previous installment’s steps. The workflow below is exactly what I use to process comet images shot at 1000mm and 4000mm.
The Eight-Step Workflow
- Use WBPP to calibrate the images up to the star-registration stage (yielding star-registered images A).
- Integrate the star-registered images A (yielding integrated star image B, which will still need DBE and color calibration later).
- Take the star-registered images A and perform comet registration (yielding comet-registered images C).
- Remove the stars from the comet-registered images C (yielding starless comet-registered images D).
- Integrate the starless comet-registered images D (yielding the integrated pure-comet image E).
- Clean up the star residuals on the pure-comet image E (yielding pure-comet image F, which will still need DBE and color calibration later).
- Extract the pure stars from the integrated star image B (yielding pure-star image B1, discarding image B’s background), and combine it with pure-comet image F.
- Retouch the combined image.
Compared with the short-focal-length workflow, the main difference is that the two normalization steps, NSG/LN (the original steps 2 and 6), have been removed. Without normalization, the gradients have to be made up for properly by the later DBE — the same trade-off logic as the “trim the normalization” choice in the short-focal-length workflow.