Removing CCD Defect Columns: DefectMap and CosmeticCorrection
CCD sensors often have a defect column problem, leaving streaks of blemishes on the image. This article shares two main methods for removing defect columns in PixInsight, using a hands-on example from my own “Latte CCD.”
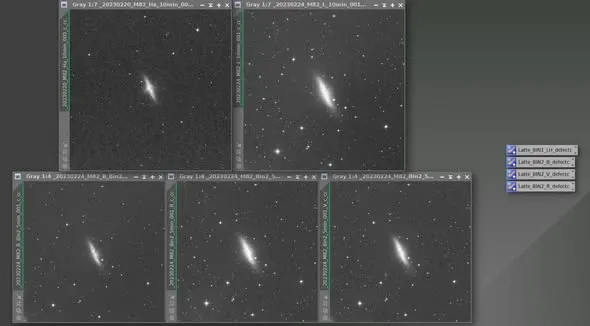
Two Methods: DefectMap and CosmeticCorrection
There are two main methods for removing CCD defect columns in PI: one uses DefectMap (DM), the other uses CosmeticCorrection (CC). Each has its own advantages:
- The advantage of CC: it can be integrated into WBPP, letting the calibration workflow flow through in one go.
- The advantage of DM: for images with different pixel binning, the defect map can often be shared simply by resampling.
For the Latte’s images, the Bin1 defect columns are clearly different from Bin2. At the same time, to be able to integrate it into WBPP, I went with the CC approach here (where the Bin1 L, Ha, OIII, and SII can all share the same CC).
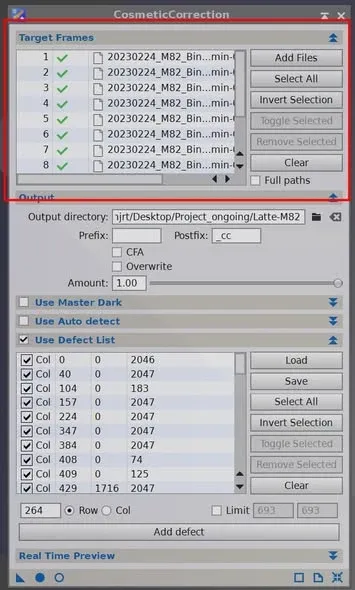
Two Ways to Apply It
Method one: use the CC interface directly and load the image for the corresponding channel. Note that this image must be a calibrated image (after dark subtraction and flat division).
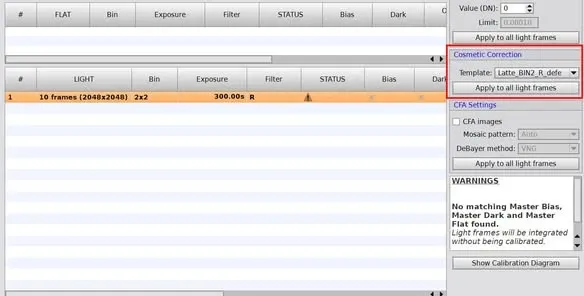
Method two: use the WBPP interface, select the image channel on the Calibration page, then in the Cosmetic Correction field to its right, select the CC Template (desktop icon) for the corresponding channel.
How to Load a Downloaded CC Icon into PI
After downloading a CC Icon someone shared, how do you load it into PI? In the PI workspace, right-click → Process Icon → Merge process Icon, and these CC Icons will appear on the background of PI’s first workspace; you can then apply them as described above.