Processing Comets in PixInsight (Part 1): Comet Tsuchinshan at 135mm Short Focal Length
Comet image processing has always been a headache. Every comet’s morphology, speed of motion, and the background it passes through, along with that background’s brightness, are all different, so it’s hard to run everything through one unified workflow. Each comet, at each stage, really ought to be treated as its own individual case. This article is a record of me actually processing Comet Tsuchinshan (Tsuchinshan-ATLAS, C/2023 A3), and it’s the first installment of the “Comet Tsuchinshan series.” The basic tools used in comet processing (Comet Alignment, star removal, masks, etc.) I’ve gathered separately in “A General Guide to Comet Image Processing”; if you’re not yet familiar with the tools themselves, I’d suggest reading that one first to build a foundation.
This installment covers the short-focal-length case.
Shooting Conditions
The images were shot on October 21, 2024, at Alishan, with a Sony A73 paired with a 135mm focal-length lens. This focal length had no suitable foreground to pair with at the shooting site, so this set of work has no landscape image and is purely the comet itself.
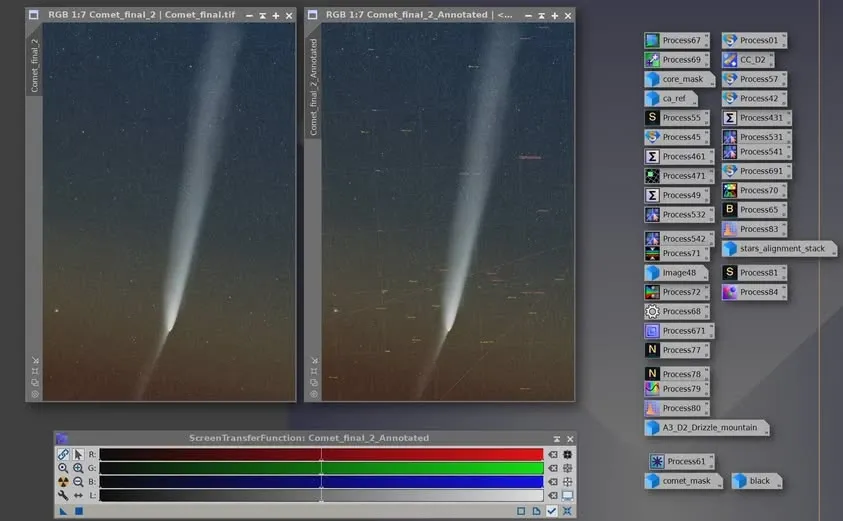
A Nine-Step Workflow
Below are the rough steps I used this time. The core idea is to integrate the “stars” and the “comet” separately and then composite them at the end, because the comet moves relative to the background stars, so the two can’t be processed with the same set of alignment parameters at once.
- Use WBPP to calibrate the images up to the star-registration stage (yielding star-registered image A).
- Apply NSG or LN (Local Normalization) to the star-registered image to normalize the image’s gradient (yielding normalized star-registered image B).
- Integrate the normalized star-registered images (yielding integrated star image C, which will still need DBE and color calibration later).
- Take star-registered image A and run Comet Alignment on it (yielding comet-aligned image D).
- Remove the stars from comet-aligned image D (yielding starless comet-aligned image E).
- Reusing the NSG or LN normalization files for the stars from step 2, integrate the starless comet-aligned image E (yielding the integrated pure-comet image F).
- Clear the star residue from the pure-comet image F (yielding pure-comet image G, which will still need DBE and color calibration later).
- Extract the pure stars from the integrated star image C (yielding pure-star image C1, and discarding the background of image C) and combine them with the pure-comet image G.
- Refine the combined image.
A Few Additional Notes
On performance trade-offs. If NSG or LN runs too slowly on your computer, you can consider trimming steps 2 and 6 and integrating directly. But if you do that, the DBE in step 7 has to be done well, so you can manually restore the gradient.
This comet has a simple background, so the workflow can be simplified. For general comet image processing, if the background contains nebulae or galaxies, you usually also have to subtract the integrated pure-comet image F from the normalized star-registered image B and re-integrate, in order to obtain a clean pure-background integrated image. This time there were no such objects near Comet Tsuchinshan’s background, so this step was skipped. But if you’re using a scope with a longer focal length and larger aperture (something like a RASA or a Takahashi Epsilon), and the composition frames a globular cluster or a small galaxy, you may still need to add this step back.
To do Comet Alignment or not? Comet Tsuchinshan didn’t move much, so in theory, if you skip Comet Alignment and do only star registration, then boost the brightness of the comet’s nucleus, you might be able to mask the integration flaws at the nucleus. But the biggest price of doing only star registration without Comet Alignment is this: because they’re not aligned, part of the faint tail gets treated as an outlier and removed by the rejection algorithm, so the dust tail or anti-tail comes out noticeably shorter. That’s the price you pay.
For the long-focal-length case (1000mm and up), because the comet occupies most of the frame, the normalization results won’t be ideal and the workflow needs further adjustment. That part I’ll leave for the second installment of the series.