Nebula Masks: Two Approaches in Photoshop and PixInsight
A nebula mask is one of the most practical masks in astro post-processing. Its purpose is this: select only the nebula itself, not the stars or the background, so we can enhance the nebulosity on its own without affecting the stars or the background.
Why You Need a Nebula Mask
If, in trying to bring out nebulosity, your images often end up with bloated stars or a background stretched too bright, then a nebula mask is exactly the solution. With a mask like this, you can adjust the nebulosity by itself without blowing out the stars or the background along with it. That’s why almost everyone who works on nebulae ends up using one sooner or later.
The PixInsight Version: Made With MLT
In PixInsight, the most common way to make a nebula mask is with MLT (MultiscaleLinearTransform), separating out the stars and the background through a multiscale approach and leaving the body of the nebula behind as the mask. This is also the method I recommend most—the results are stable and the star selection is clean.
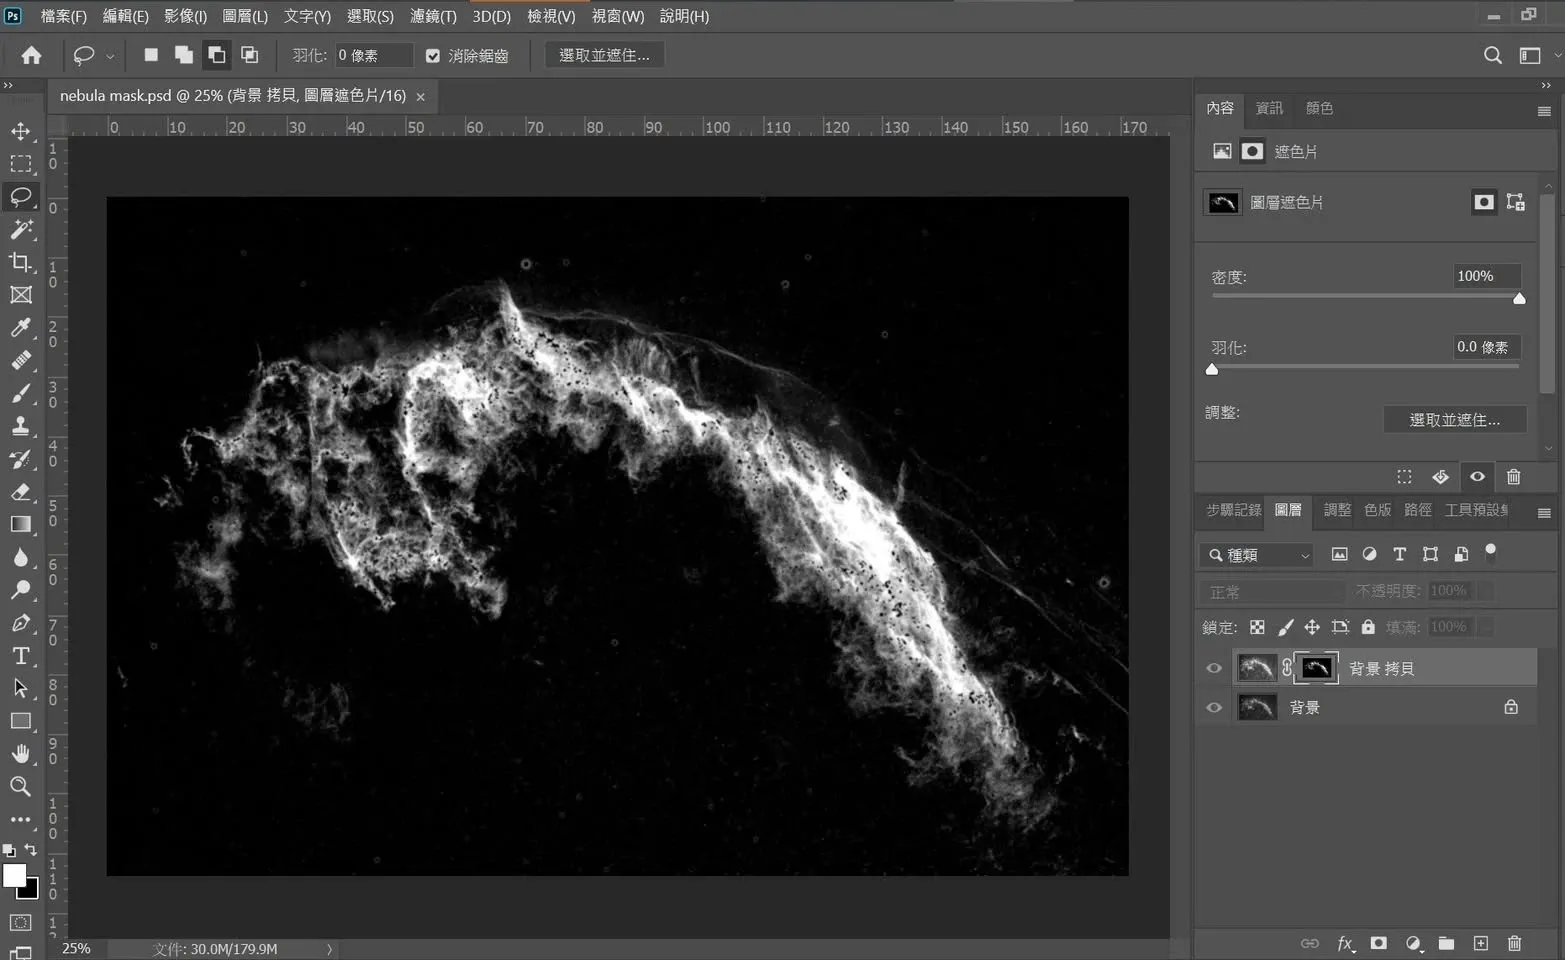
The Photoshop Version: Same Principle, but More Work
Let me give the conclusion first: Photoshop can make a nebula mask too, with results similar to one made with MLT in PixInsight. The principle behind making a nebula mask in the two programs is actually exactly the same—you first create an object mask and a star mask, then use them together to build a mask that keeps only the nebula.
However, Photoshop’s star-selection ability is weaker, so you have to spend more time deselecting the areas that “aren’t stars but got selected anyway,” and the overall result isn’t as good as MLT’s. So if you have PixInsight on hand, I’d still recommend using PixInsight to make this mask.
Full Video Demonstration
I once used the NGC 6992 Veil Nebula as my processing target and recorded a series of demonstration videos explaining how to make an object mask and a star mask in Photoshop, use them to build a nebula mask, and finally use the nebula mask to adjust the image. Since it runs long, it’s split into three parts:
- Part 1: Making the object mask and the star mask—https://youtu.be/XrCnp8hkunc
- Part 2: Using the object mask and the star mask to make the nebula mask—https://youtu.be/owgyrY0PIDA
- Part 3: Using the nebula mask to adjust the image—https://youtu.be/tAuF_MX4qsQ
There’s a corresponding demonstration video for the PixInsight version too, for comparison: https://youtu.be/c-gdotBXc7c