Photoshop Retouching: Halos and Blue Rings Around Bright Stars
Retouching an astro image from start to finish entirely in Photoshop actually isn’t easy—you have to patiently make and use masks, and the convenience isn’t great. But if you position it as a “final-stage retouching tool,” Photoshop turns out to be surprisingly useful. This article rounds up a few retouching techniques I often use to finish up, mainly to tackle the blue rings next to bright stars and the halos caused by filters.
Removing the Blue Rings Next to Bright Stars While Finishing Up
On one image, in the final stage in Lightroom I’d earlier cranked up the saturation without using a mask, and the result was blue rings appearing next to the bright stars. Later I did a round of retouching in Photoshop and got rid of these blue rings. This shows that Photoshop, as a final finishing tool, can remedy the traces left by heavy-handed operations earlier on.
Reducing the Blue Halo Caused by a Corrector
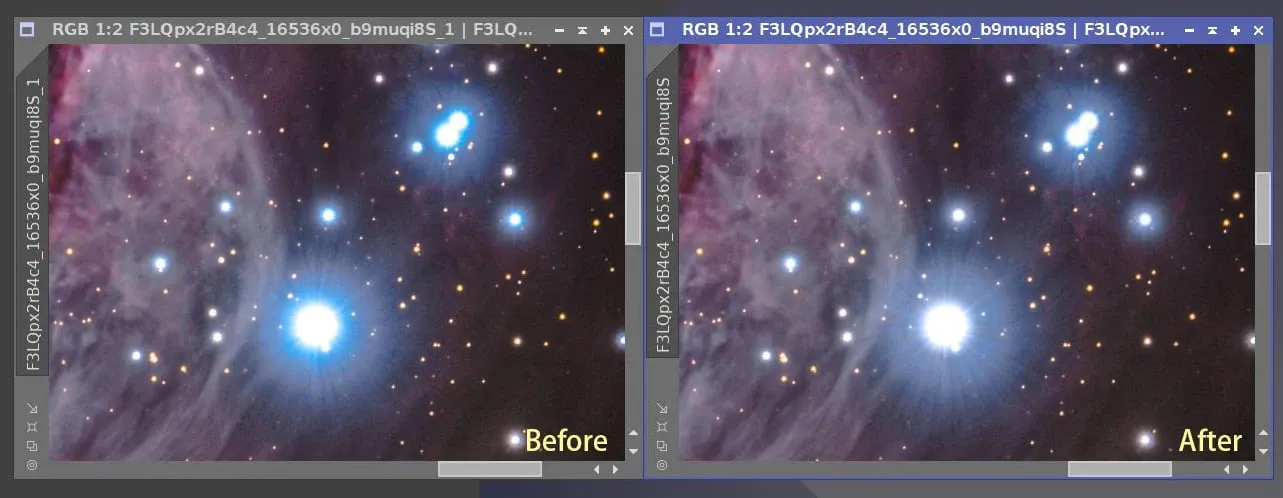
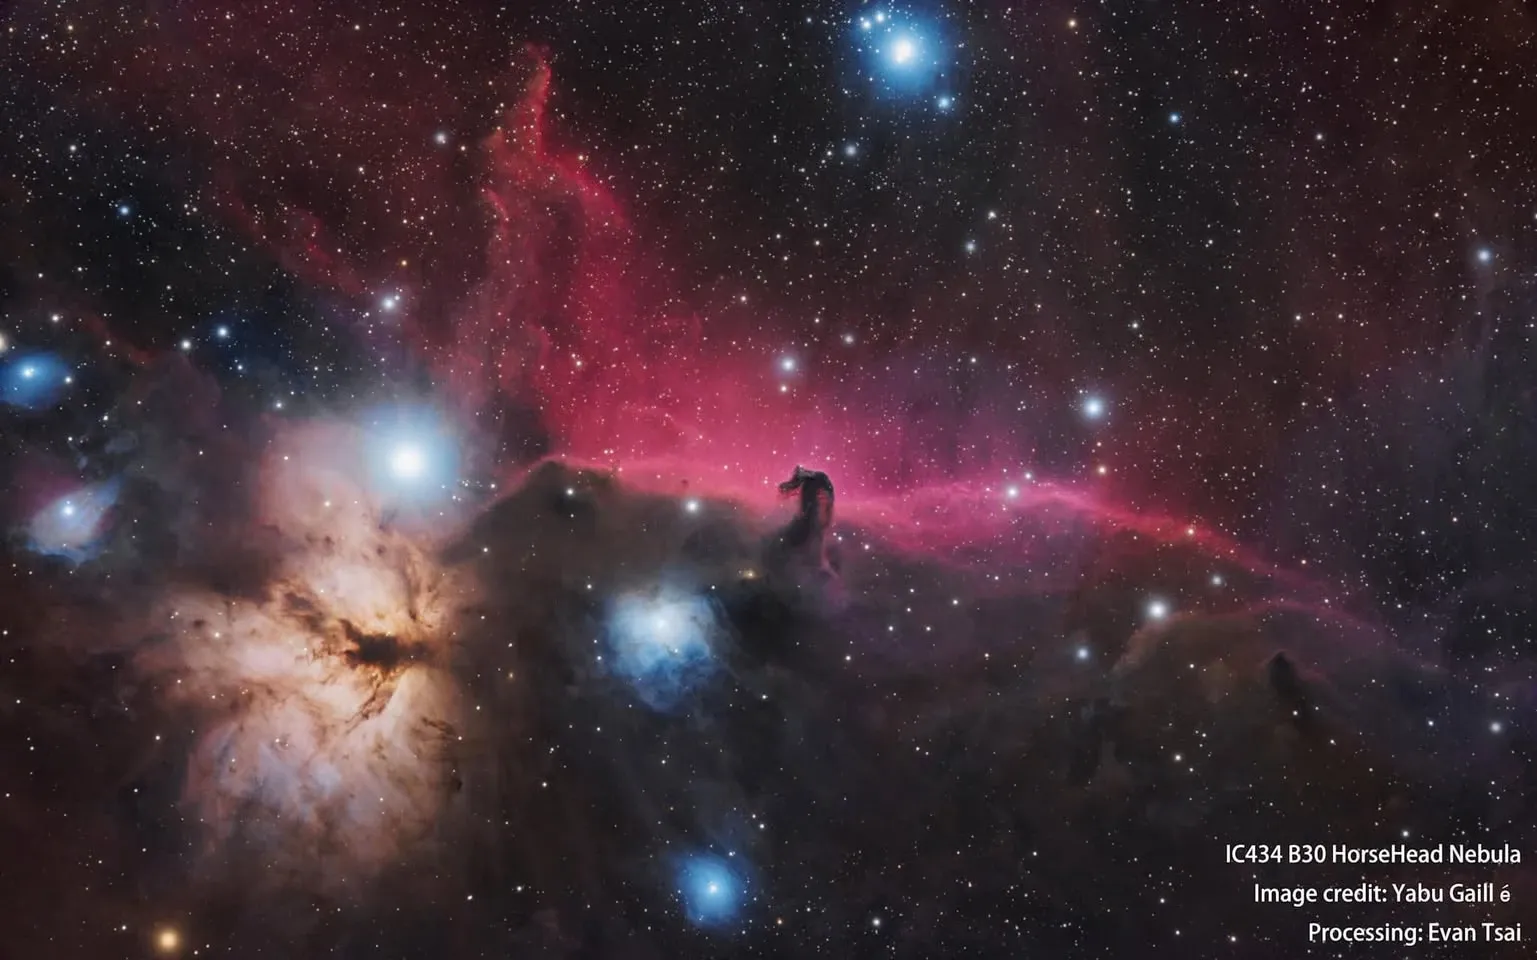
Another example is the B33 Horsehead Nebula. When I processed this image the previous year, the corrector caused two distinct blue halos to appear in the image, and I could never get them to disappear. Later I learned a bit of Photoshop and used a few beginner-level techniques, finally managing to reduce the halos’ impact somewhat. Toggle between the before and after images and you can see the difference.
That said, to be honest, there are two things I should own up to here: first, the most fundamental fix is really to replace the corrector—Photoshop only treats the symptom; second, only after removing the blue halo did I discover there was still a black ring on the outer edge (which, by the way, was not caused by dark clipping).
Peripheral Halos Caused by Filters: A General Solution
Halos caused by filters are a common phenomenon; whether you use a cheap or an expensive narrowband filter, halos can appear around bright stars. Dealing with them actually isn’t hard:
- Photoshop: use the Elliptical Marquee Tool to make a suitable selection, then lower the saturation of that area, and sometimes this easily solves the annoying problem.
- PixInsight: the operation is analogous, except you have to build this mask yourself by subtraction in PixelMath (you can pair it with the GAME script for the selection), and the key is to select only the halo and not the star’s center.
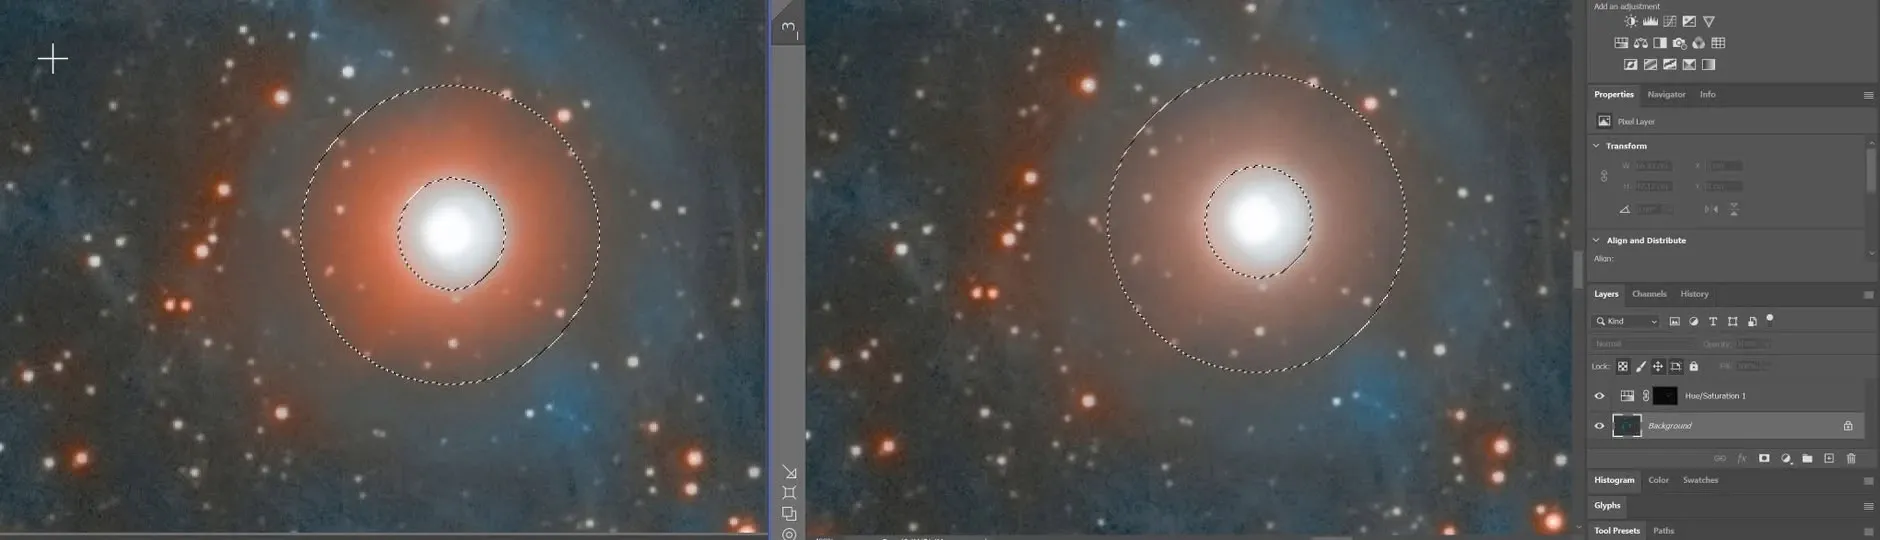
It’s worth noting that this method not only removes halos caused by filters, but can also be used to remove ghost reflections caused by the telescope itself or by a focal reducer / field flattener. It’s a rather versatile finishing technique.