Photoshop Masks Series: Highlights, Objects, and Alpha Channels
Masks are one of Photoshop’s most central tools in astro post-processing. This article organizes several ways to build the masks I use most often: highlight-selection masks, object masks, and how to save a finished mask into an Alpha channel for reuse. Honestly, I’ve always been a bit lazy about seriously learning Photoshop, but since I was going to bring it into my workflow, I still had to shore up these fundamentals.
Highlight-Selection Mask
A highlight-selection mask is used to lock onto the bright parts of an image, making it easy to apply targeted processing to the highlight range. The steps are as follows:
- Select → Color Range → Highlights, then adjust to the range you want
- Select → Modify → Expand, to appropriately enlarge the selection
- Select → Modify → Feather, to feather the enlarged selection
- Press the “Add layer mask” button
- The highlight-selection mask for that layer is done
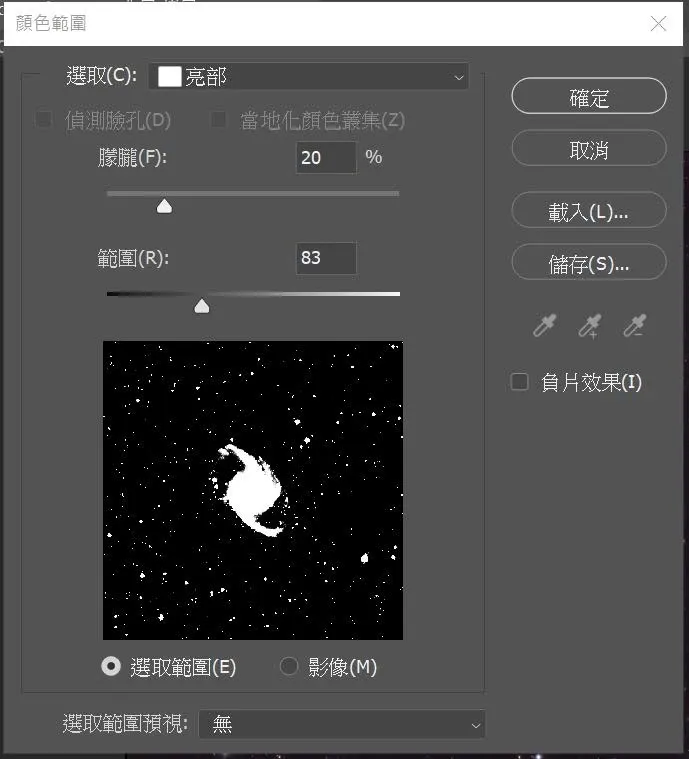
The purpose of this mask is to make adjustments within the highlight range, such as sharpening, boosting saturation, or limiting the range where deconvolution acts. Conversely, if you invert this mask (Ctrl+I), you can protect the highlight areas and instead process the low-light parts like the background, for example noise reduction or lowering saturation.
Object Mask
The purpose of an object mask is to denoise and smooth the background while protecting galaxies and stars from being affected. The steps:
- Duplicate the background layer
- Ctrl+A to select all of the background, then Ctrl+C to copy it
- Add a layer mask (create the mask)
- Hold Alt + left-click to enter mask editing mode
- Ctrl+V to paste the background copied in step 2 (it now appears in grayscale)
- Ctrl+I to invert the mask
- Use Levels to tune the mask to a suitable state
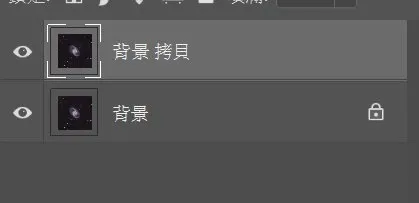
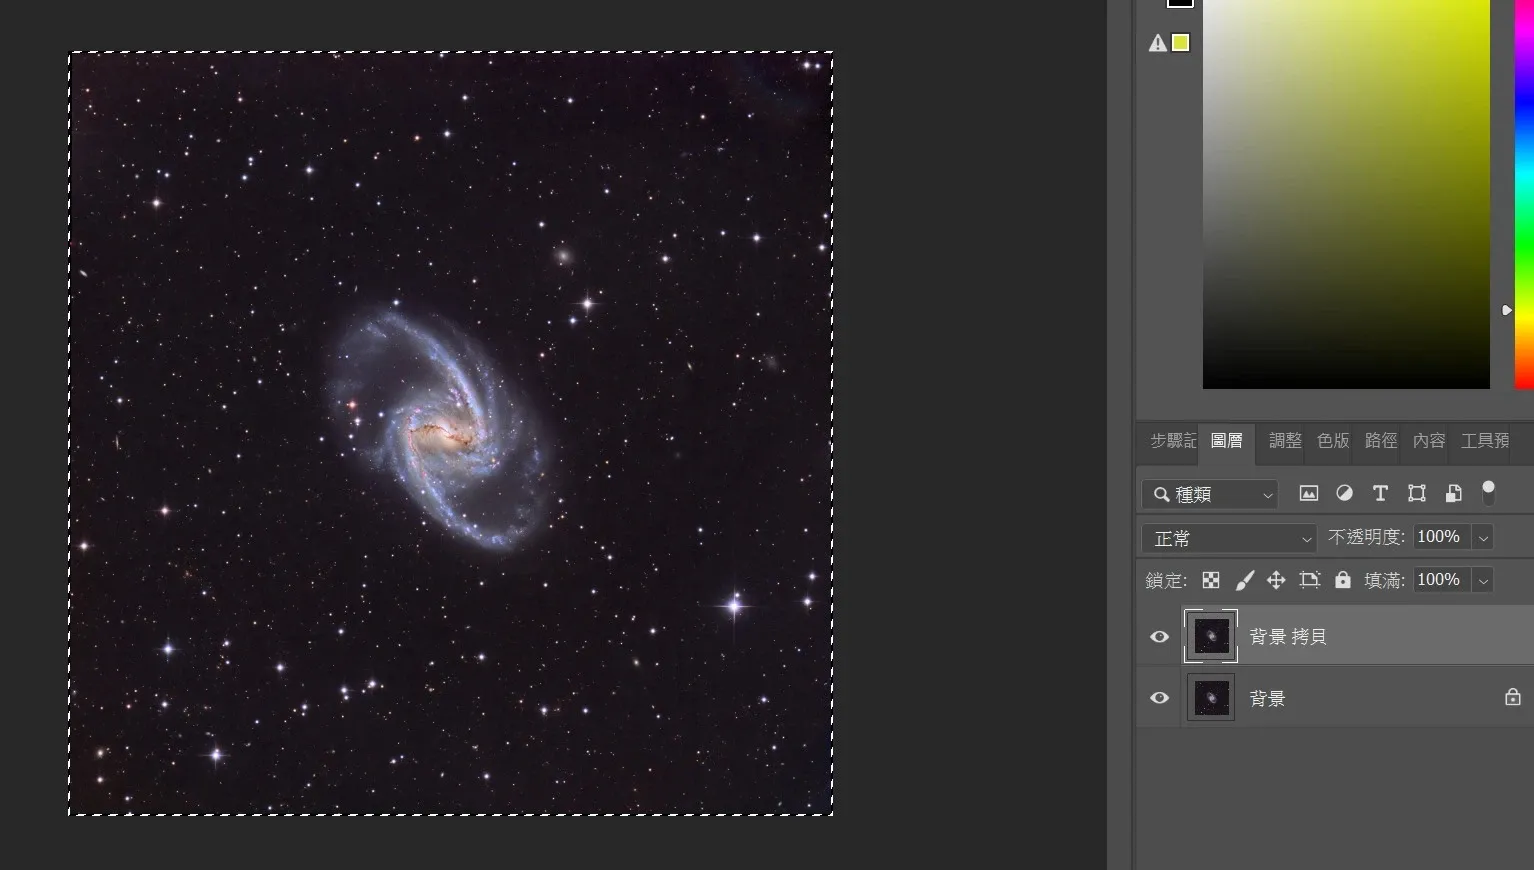
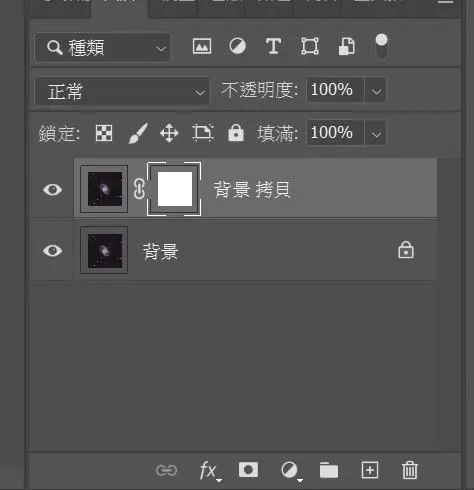
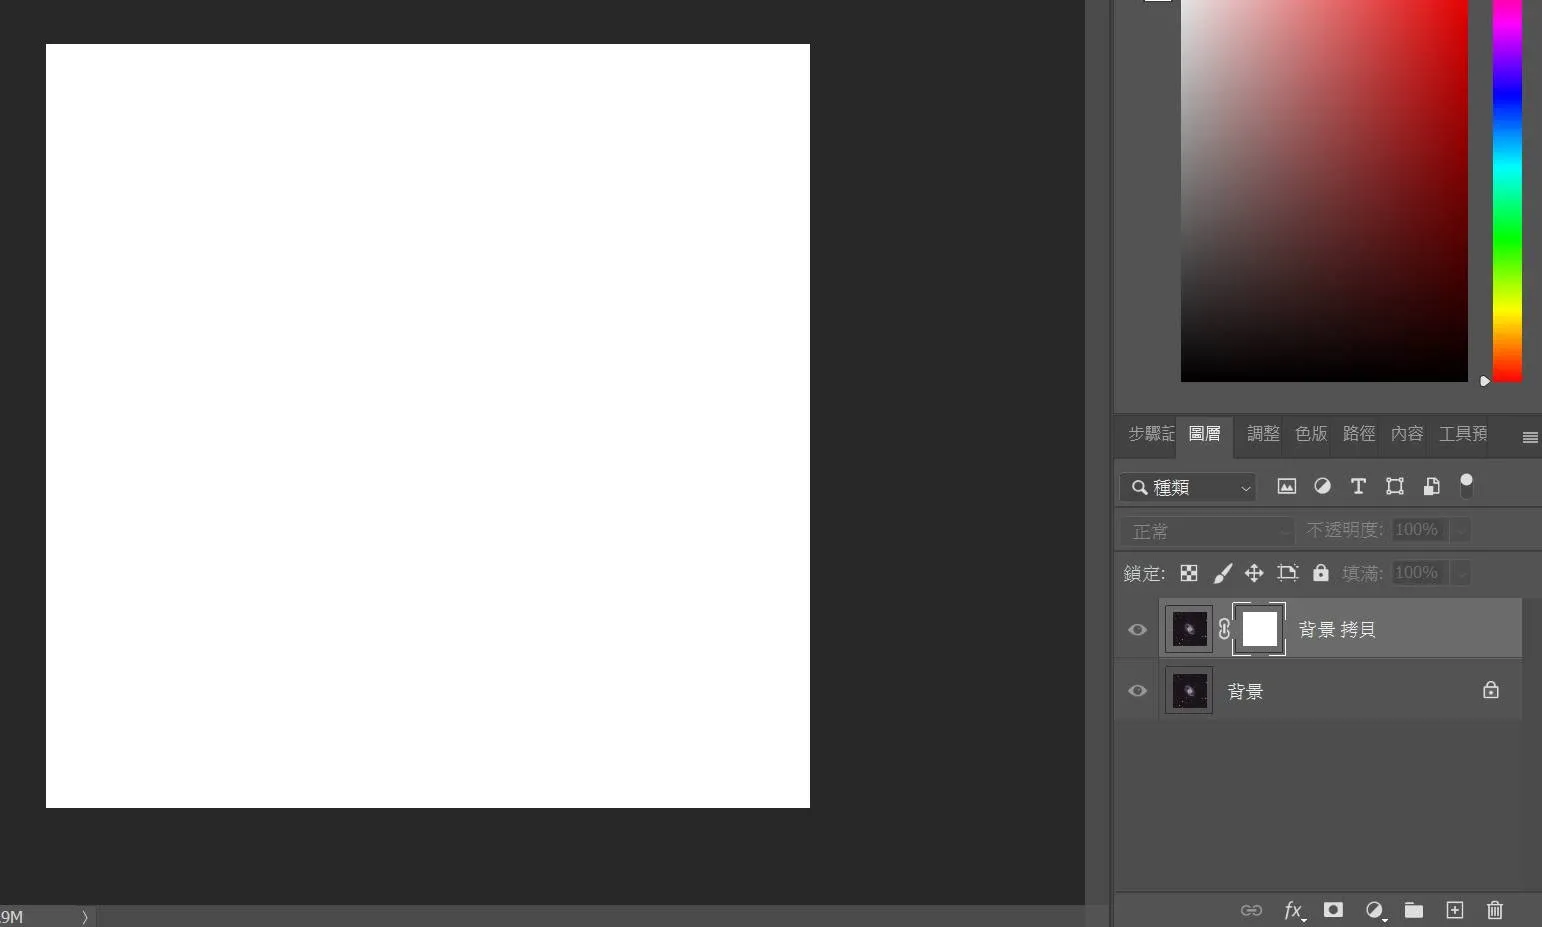
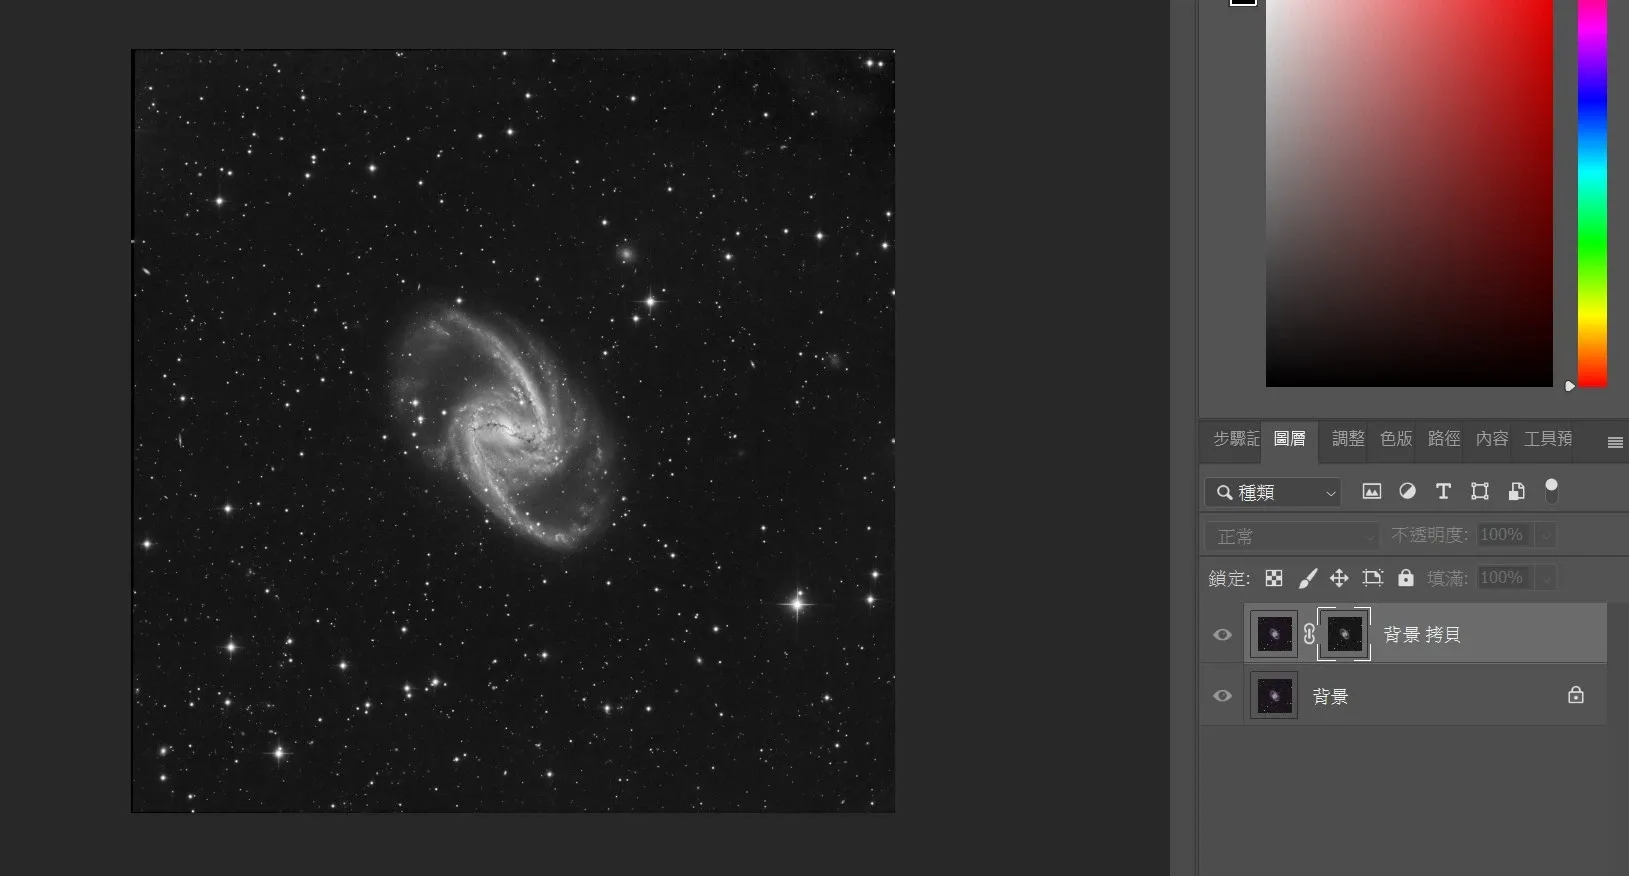
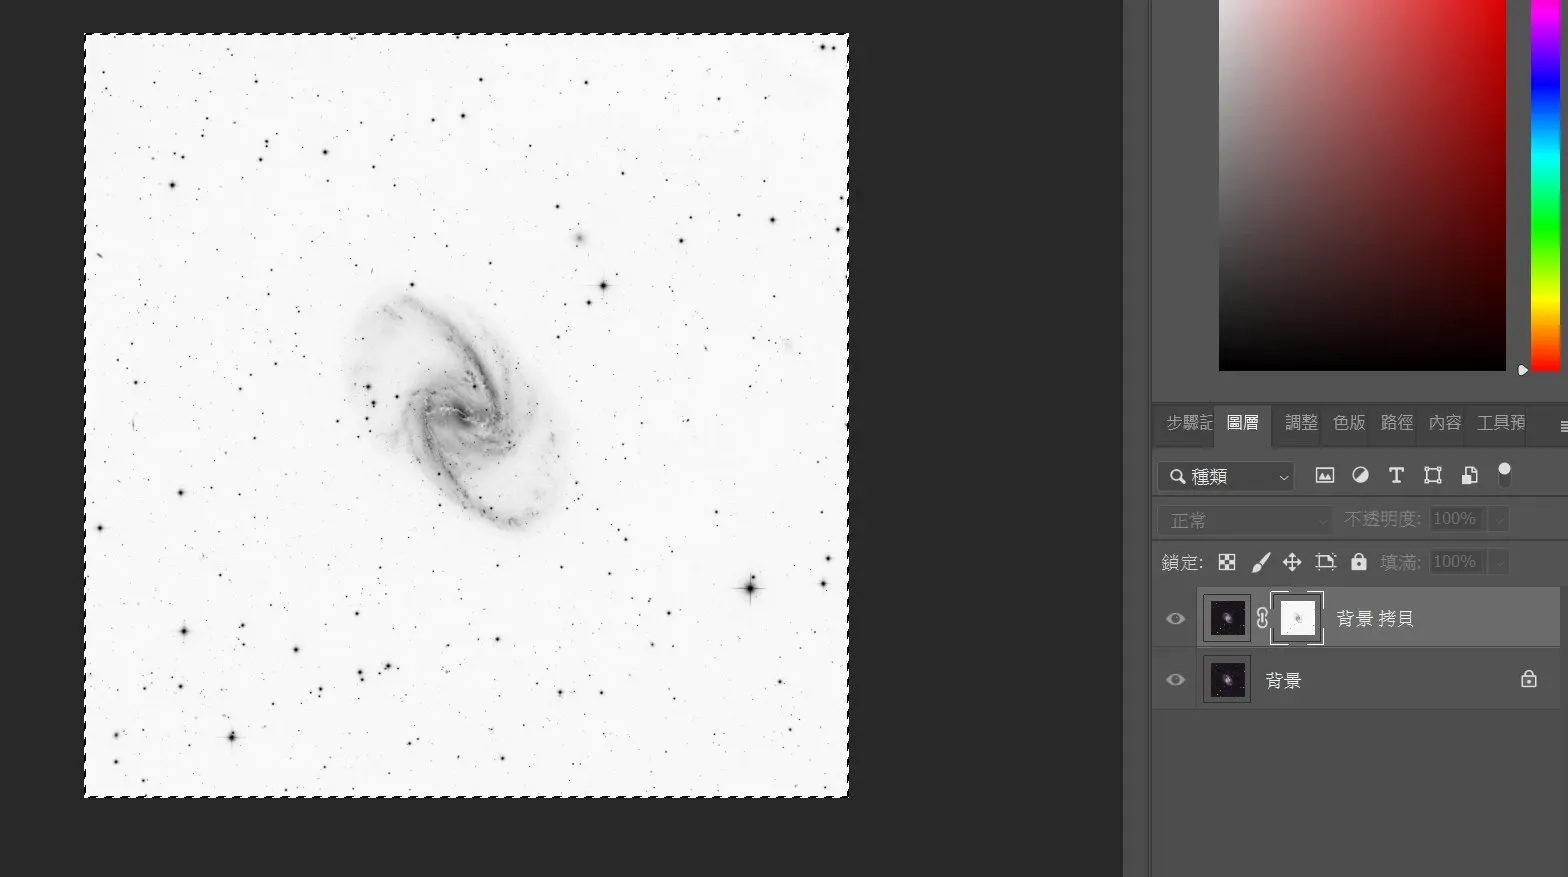
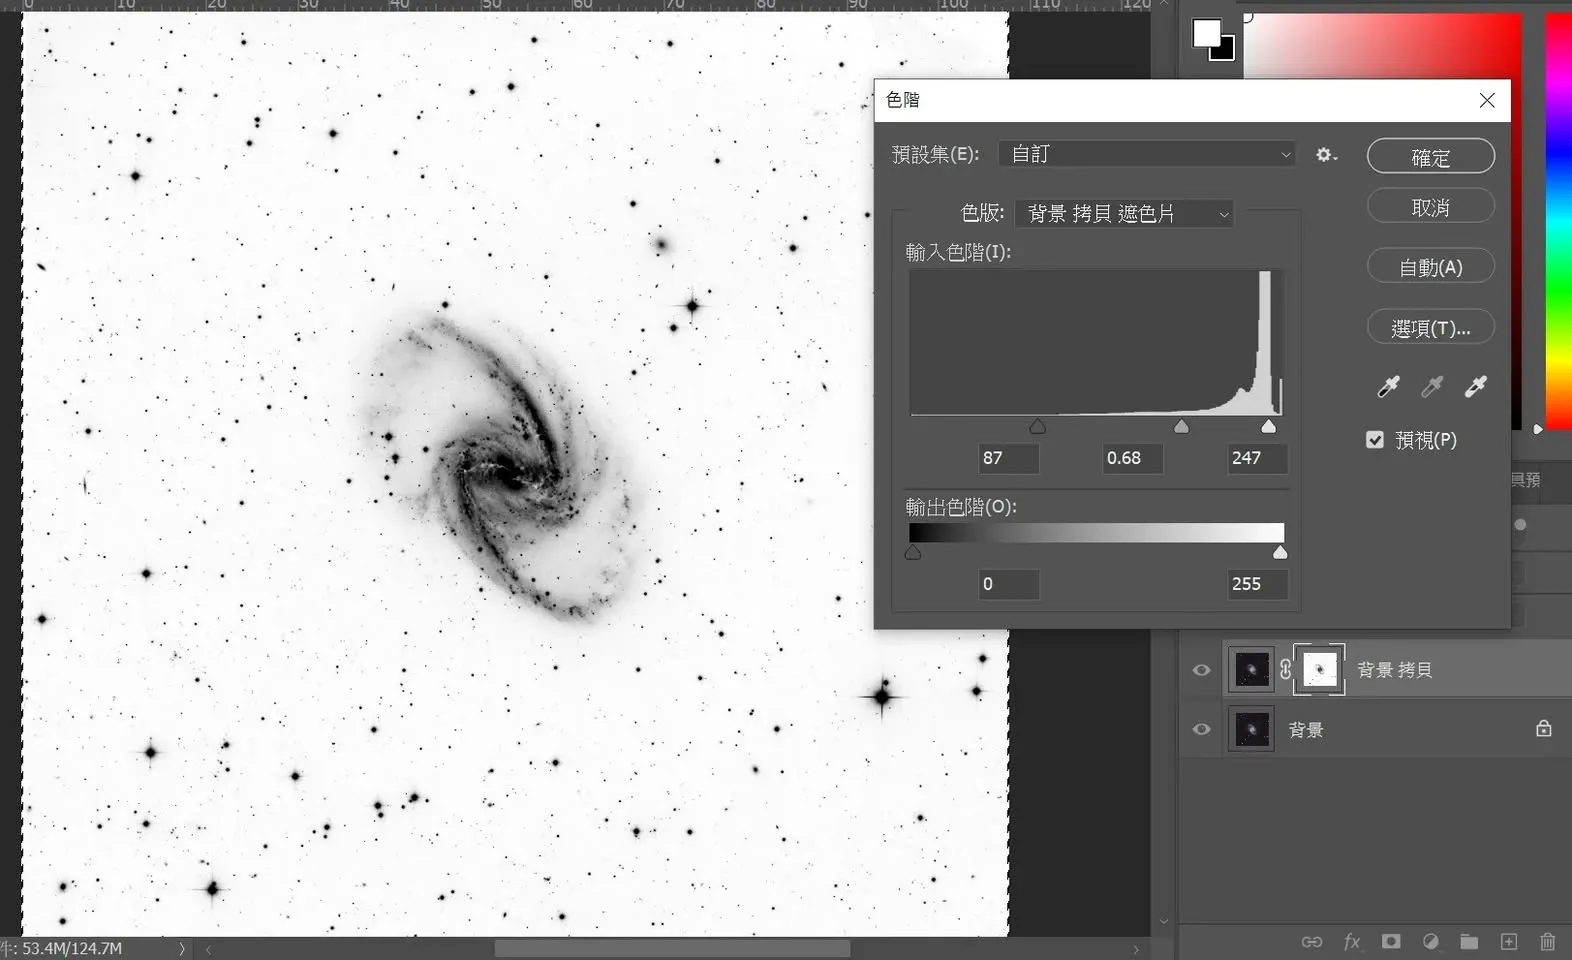
Once the object mask is done, you can denoise the background without affecting the galaxy or the stars. This is especially handy when processing galaxy images: the background gets clean while the subject remains completely untouched.
Saving a Mask with an Alpha Channel
Anyone who has used Photoshop knows that selections and masks can be converted back and forth. But if I’ve painstakingly built a mask and want to reuse it later, where should I put it?
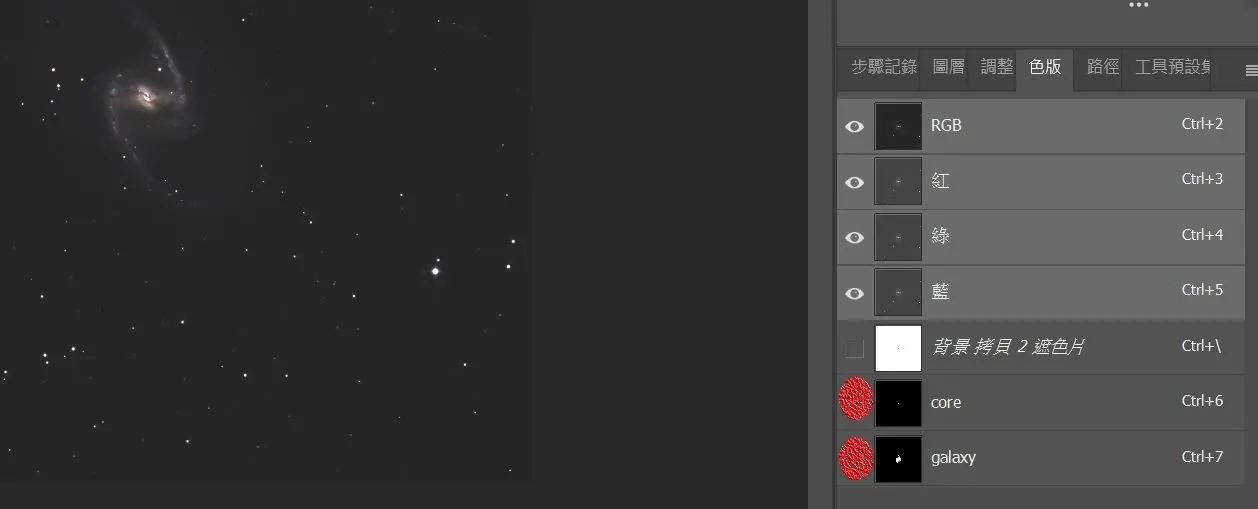
PixInsight is fairly straightforward on this front: a mask is itself an image file, so you just save it as a new file or bundle it inside a Project. And Photoshop? The answer is put it into the “Channels.” Beyond the three RGB channels, a file can hold quite a few extra channels, and we can store a mask as a channel. When we need it later, we convert it straight into a selection and turn it back into a mask for use.
Note: Tutorial Videos Moved to YouTube
In the past I tried posting mask-related demo videos on Facebook, but the videos kept getting stuck in the review stage and would never publish. So for related tutorial videos going forward, I’ve moved them all to YouTube; fellow hobbyists who want them can find them on the channel: Evan Tsai’s YouTube channel.