Enhancing One-Shot Color Images with a Dual-Band Filter
A one-shot color camera (OSC) paired with a dual-band (dual-narrowband) filter has become a very popular combination in recent years. But the filter produces stars with weird colors and a weird background, while pure RGB often doesn’t have enough nebulosity. This article lays out an approach that “takes the best of both and makes up for each other’s shortcomings”: using the signal from a dual-band filter to enhance the original color RGB image.
Why Make Up for Each Other’s Shortcomings
Let’s start with a very intuitive comparison. Most images shot with color cameras online usually show only one of the two:
- Left (no filter): faint nebulosity, but normal stars.
- Right (with a dual-band filter): better red nebulosity, but weird star and background colors.
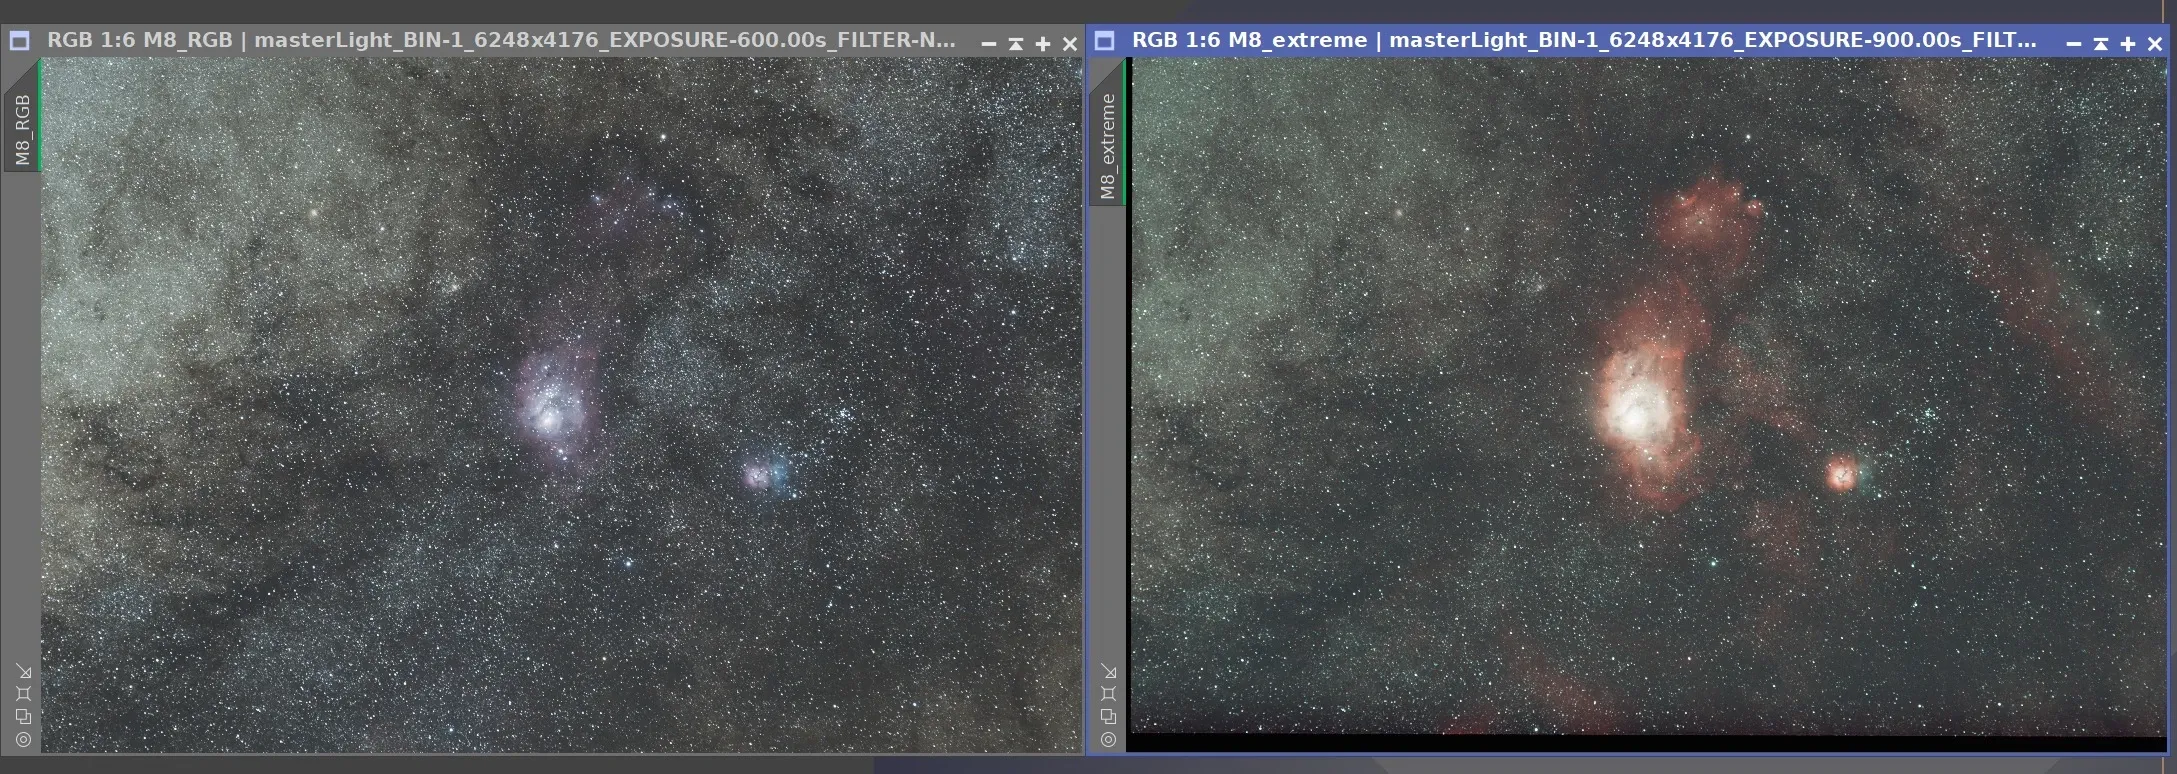
Each has its pros and cons. So, just like the processing approach for a mono camera, extracting the strengths of each of the two images and making up for each other’s shortcomings is the way to present the best result—keeping RGB’s normal stars while adding the nebulosity that the dual-band filter enhances.
Nebulae: Adding Ha and OIII into RGB Step by Step
The specific method uses the Ha and OIII signals from the dual-band filter image to enhance the original color RGB image. This workflow simultaneously solves the problems of RGB not having enough nebulosity and of the dual-band’s weird star colors and monotone nebula color. Looking at a four-panel comparison:
- Top left: shot with a color camera (RGB)
- Top right: shot with a dual-band filter added (Ha + OIII)
- Bottom left: adding the Ha signal to the top-left image (RGB + Ha)
- Bottom right: then adding the OIII signal to the bottom-left image (RGB + Ha + OIII)
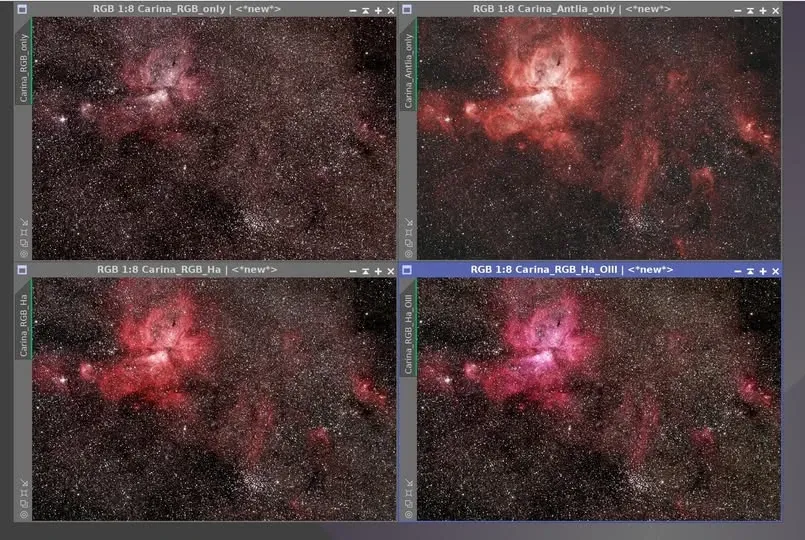
(This example uses a ZWO ASI 2600MC and an Askar ACL 200 lens, with the dual-band filter being an Antlia ALP-T Dual Band 5nm.)
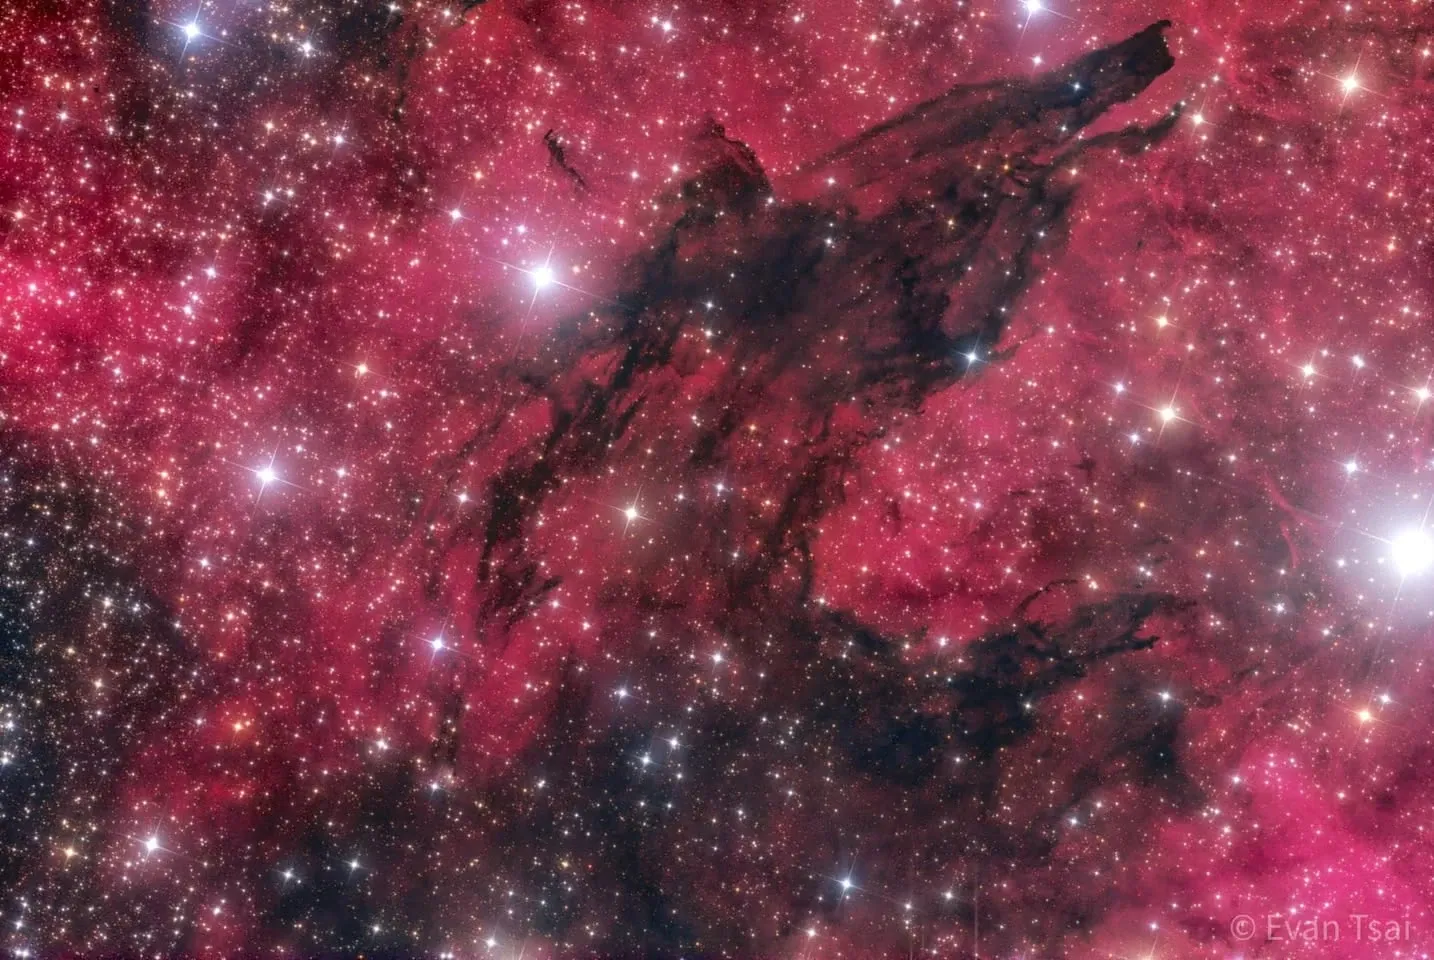
I also once applied the “using PixelMath to add Ha into a color image” method shared by Chu Yi-Ching to a dark nebula. Her original use was aimed at galaxies, but it seems to work equally well on nebulae.
Galaxies and Dwarf Galaxies: The Same Applies
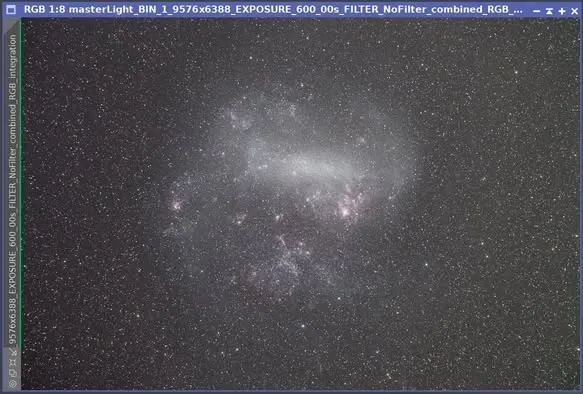
This enhancement method isn’t only suitable for nebulae; galaxies and dwarf galaxies work too, such as the Large Magellanic Cloud. Looking at a four-panel comparison:
- Top left: a color image shot for 6 hours
- Top right: a dual-band filter image shot for 10 hours
- Bottom left: RGB + Ha
- Bottom right: RGB + Ha + OIII
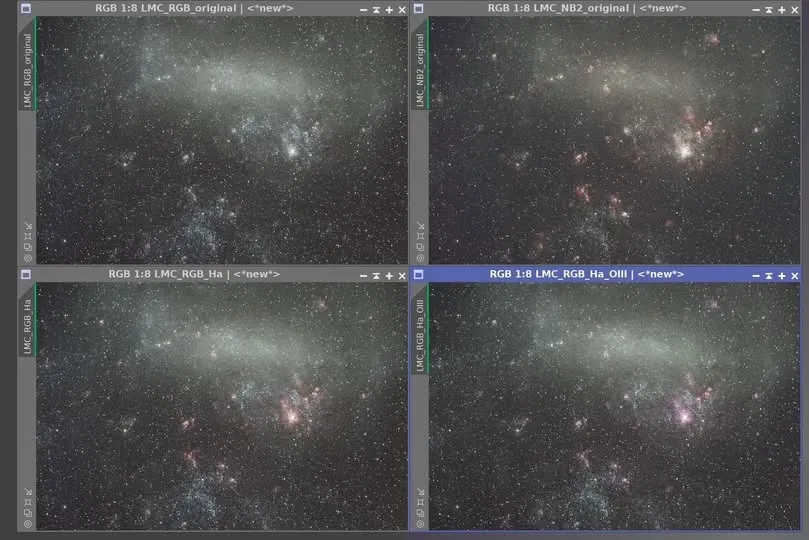
In recent years there have also been all-in-one RGB+Ha filters, which feel quite well suited to shooting galaxies or dwarf galaxies; just five and a half hours of OSC data already looks pretty good.
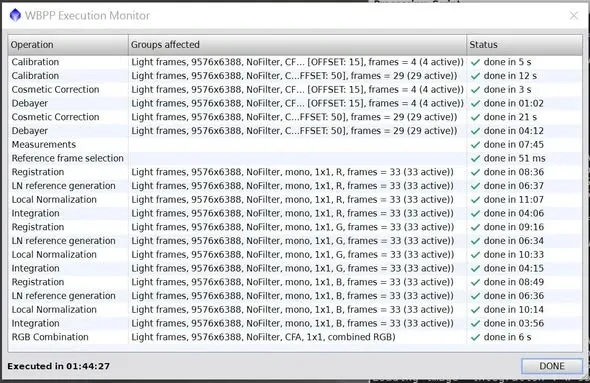
A reminder is in order: this kind of shooting also has its own practical hurdles. High-megapixel cameras (for example the 60-megapixel QHY 600C) produce very large files, and running WBPP takes a good while; and if the lens’s aberrations are pronounced (for example, with some lenses the stars are still red on one side and blue on the other even after separating the three RGB channels), that’s a part this method can’t rescue either.