Running Astrophotography from an Industrial PC: A Small, Low-Power Automation Setup
This year I switched my astrophotography capture control over to running on a computer. From the outset, though, I had no intention of putting a delicate laptop to work out in the field, in high humidity and low temperatures—after all, most laptops simply aren’t designed to operate under such harsh conditions.
Why an Industrial PC
The solution I went with is an “industrial PC” (industrial control computer). By 2022, industrial PCs have shrunk to a remarkably small size. Take the one in the photo: it’s even smaller than my Pegasus power box (the blue unit), roughly the size of a palm. For convenience I mounted it directly on top of the power box; besides being small, it’s also very light.
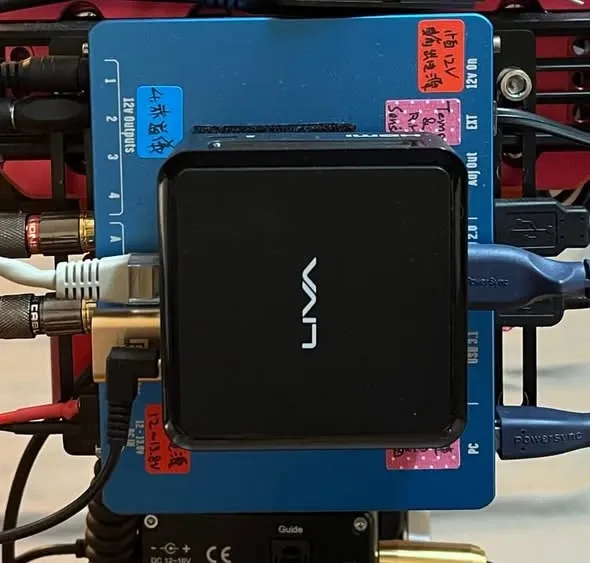
Power Consumption Really Isn’t a Problem
Power consumption has always been people’s biggest reservation about “controlling things with a computer.” But after actually measuring it, this computer’s power rating is 12V 2A: around just 8W in a low-power state, rising to no more than 11W under heavy load. Given that modern batteries readily offer 80–100 Ah of capacity, getting through one or two nights of imaging is absolutely no problem.
If you don’t mind the size, you can also hunt down a second-hand metal-cased industrial PC (usually under NT$2,000 on the market). Machines like these often draw even less power—as little as 2W, for instance; many even have a built-in 4G network card, so you can get online simply by inserting a SIM.
My Remote-Control Setup
My main configuration is “computer control plus a 4G wireless router.” That way, near the telescope I can operate everything directly over WiFi; and anywhere with an internet connection, I can use a phone, tablet, or computer to remotely control and monitor the imaging (as shown in the second photo).
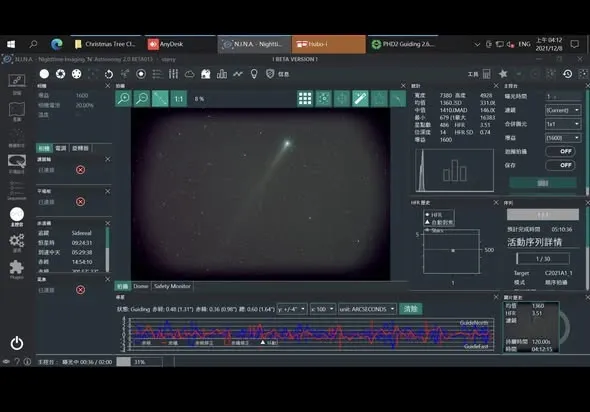
Here’s a small tip: with pure remote control, because the host has no monitor attached, the resolution can’t be adjusted. So I pair it with a “dummy monitor” (an HDMI virtual display) costing a bit over NT$100, plugged into the computer’s HDMI port. That way I can adjust the resolution however I like from the remote end—it’ll even support up to 4K.
The Biggest Advantage of Computer Control: Broad Compatibility
The biggest advantage of computer control is its very broad compatibility: as long as your equipment provides an ASCOM driver, almost anything can be mixed and matched, and you won’t be locked into a single hardware brand. For capture-control software, I went with NINA, the one most fellow hobbyists use; my first time out I ran into no problems and started imaging right away (assuming, of course, you’ve installed the drivers first).
So, in 2022, using a computer to achieve automated imaging is really no longer an expensive or power-hungry proposition. Nor do you have to stand guard by the machine all night; you can comfortably keep watch from a warm car or room. And if you’re still uneasy, you can even set up a network camera to monitor things—just watch out for the possibility of the IP cam’s infrared shining into your lens.
The Equipment You’ll Need and the Budget
- Industrial PC: NT$2,000–8,000
- Dummy monitor (HDMI virtual display): NT$80–150
- 4G router (optional): NT$2,500
- Remote-control device: your own phone, tablet, or laptop will do