Normalization and Weighting in Integration: NSG and the Reference Image
Integration isn’t just adding every image together in equal measure. Each image’s quality, gradient, and background brightness are all different, so before integrating you have to do two things first: correct each image’s gradient to the same baseline (normalization), and give each image an appropriate weight. This article discusses the NSG script and how to pick the reference image.
NSG: Handling Normalization and Weighting Together
Normalize Scale Gradient (NSG) is a script used before integration: it gives each image an appropriate weight, and using the reference image as the baseline, corrects the gradients of the other images before moving on to the next stage, the integration process. Besides normalization, you can also use the weights it produces to appropriately remove lower-rated images.
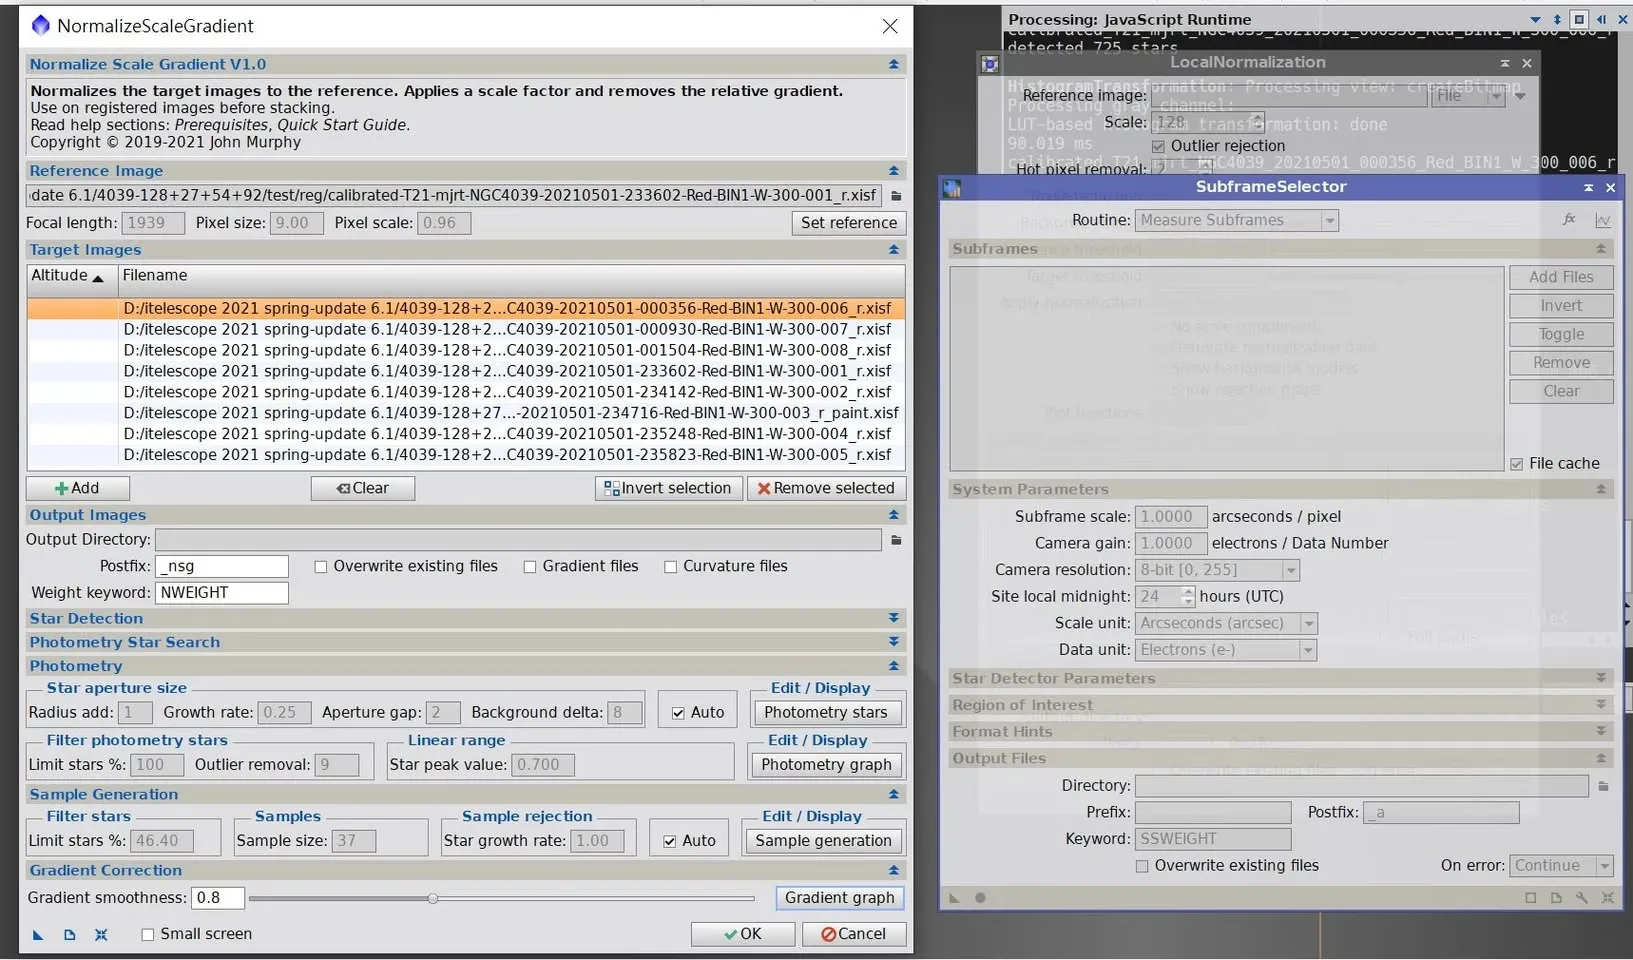
My own experience is: once I had NSG, I could pretty much put away Subframe Selector and Local Normalization—I feel like I’ve hardly used them since. Of course this is a personal processing habit, and how to combine tools still depends on your own workflow.
The Reference Image: The Selection Differs Between the Two Stages
When using NSG (or any registration or normalization workflow), there’s a detail that’s easy to overlook but very crucial: the principles for picking the reference image at the star registration stage and the normalization stage are opposite.
- The reference image for Star Alignment: pick a photo of “medium” quality. That way, images of both better and worse quality can register to it smoothly.
- The reference image for Normalization: pick the “best” photo. Because you want to use the best one as the baseline for correcting the gradients of the other images.
One should be “middling”, the other “the best”—don’t mix them up.
A Troubleshooting Case: Still Problems After NSG
Normalization isn’t a cure-all; even after doing NSG an image can still have flaws. Let me share an example I saw in an overseas community: someone did ABE after finishing NSG, and the image still looked problematic.
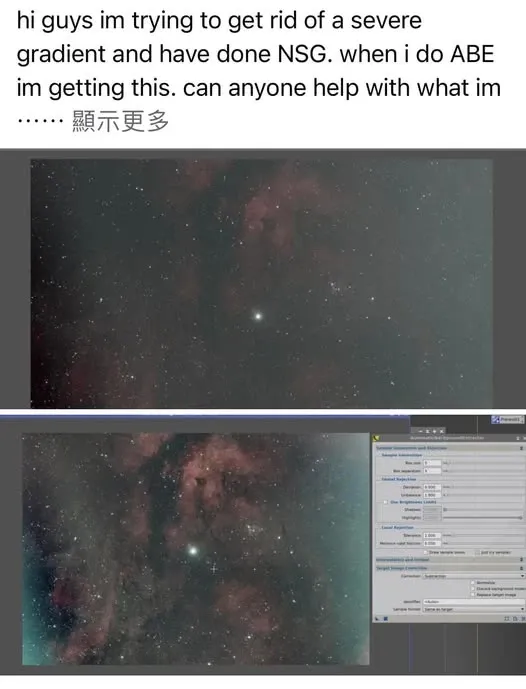
There are a few possible causes:
- The right side of the image has stronger light pollution, plus cloud cover.
- ABE’s sample points may be placed wrong, and ABE can’t adjust sample points manually—in this situation you should switch to DBE and place the sample points by hand.
- The flats may have a problem, requiring the calibration algorithm to be changed to division, and if necessary even reshooting the flats.
The key takeaway from this case is: normalization and background-removal tools (NSG, ABE, DBE) can fix gradients and the background, but if the root of the problem is in the light-pollution cloud cover or the flats themselves, you have to go back and deal with it at the source, rather than blindly piling on tools at the back end.