Making a Nebula Mask: Two Approaches with MLT and StarNet
This article is compiled from notes taken in 2021. Some tools or workflows have since been updated, so please keep that in mind while reading.
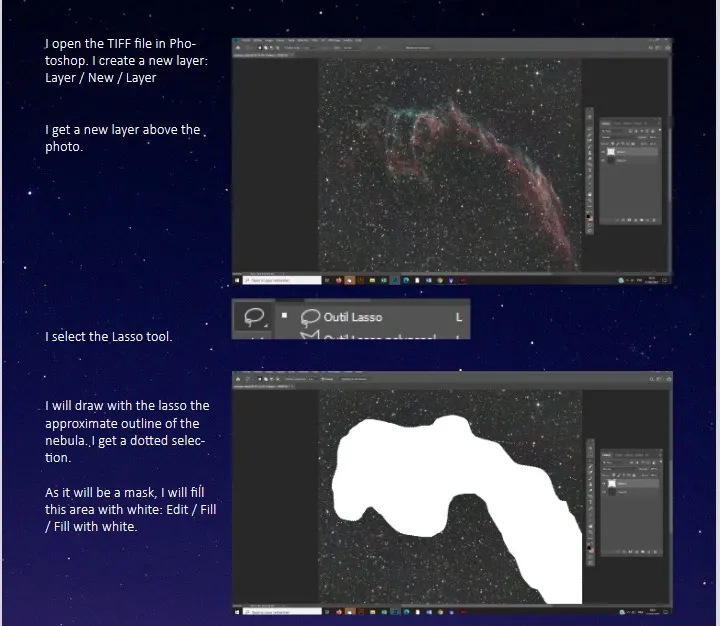
A while back I came across a set of teaching materials for PixInsight beginners, in which the workflow switched over to Photoshop midway to make a nebula mask. I never quite understood this, because PI itself has plenty of tools for making all sorts of masks, so there’s really no need to jump out midway. I happened to have an image of NGC 6992 on hand, so I did it once in PI to see just how long making a nebulosity mask actually takes.
Let me give the answer first: manually using MLT, about 10 minutes; using StarNet, about 5 minutes.
Whichever method you use, the first step is the same: for color photos, extract the luminance channel first.
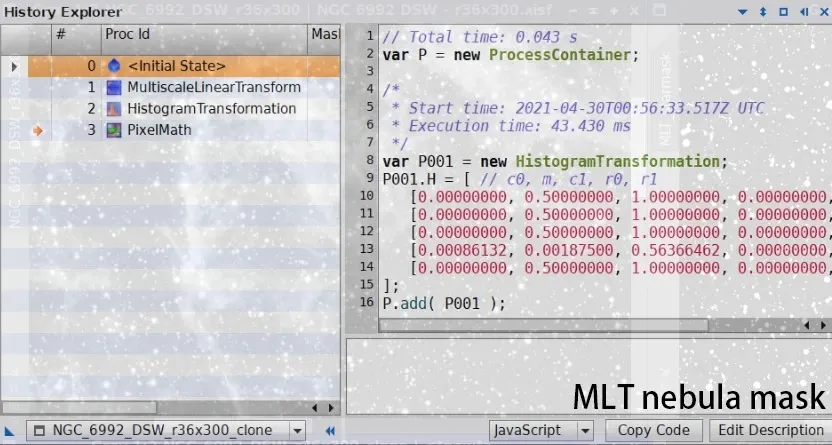
The MLT Approach (About 3 Steps)
- Use MLT (MultiscaleLinearTransform) to produce a star mask.
- Subtract this star mask from the Original image.
- That yields the preliminary nebulosity mask.
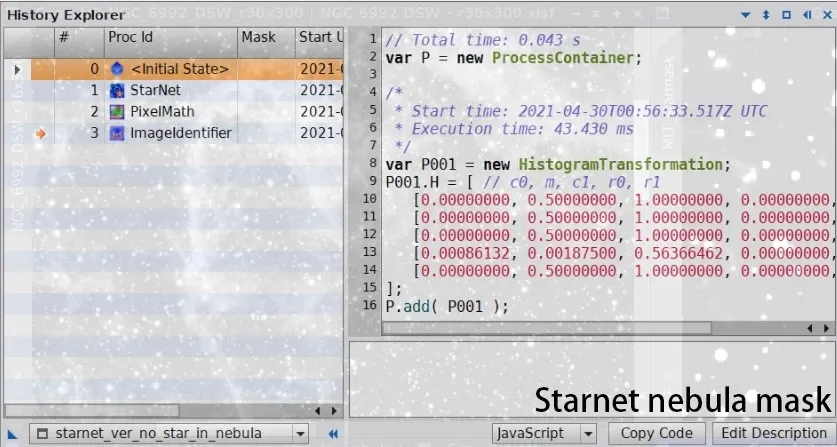
The StarNet Approach (About 2 Steps)
- Use StarNet to remove the stars.
- From the starless nebulosity image, subtract the star mask that StarNet produced.
The Difference Between the Two Approaches
The biggest difference between the two is that StarNet is much faster, and most of the time is spent on the star-removal computation. That said, StarNet’s selection of the nebulosity may be less thorough, whereas its selection of the stars is very complete (compared to using MLT).
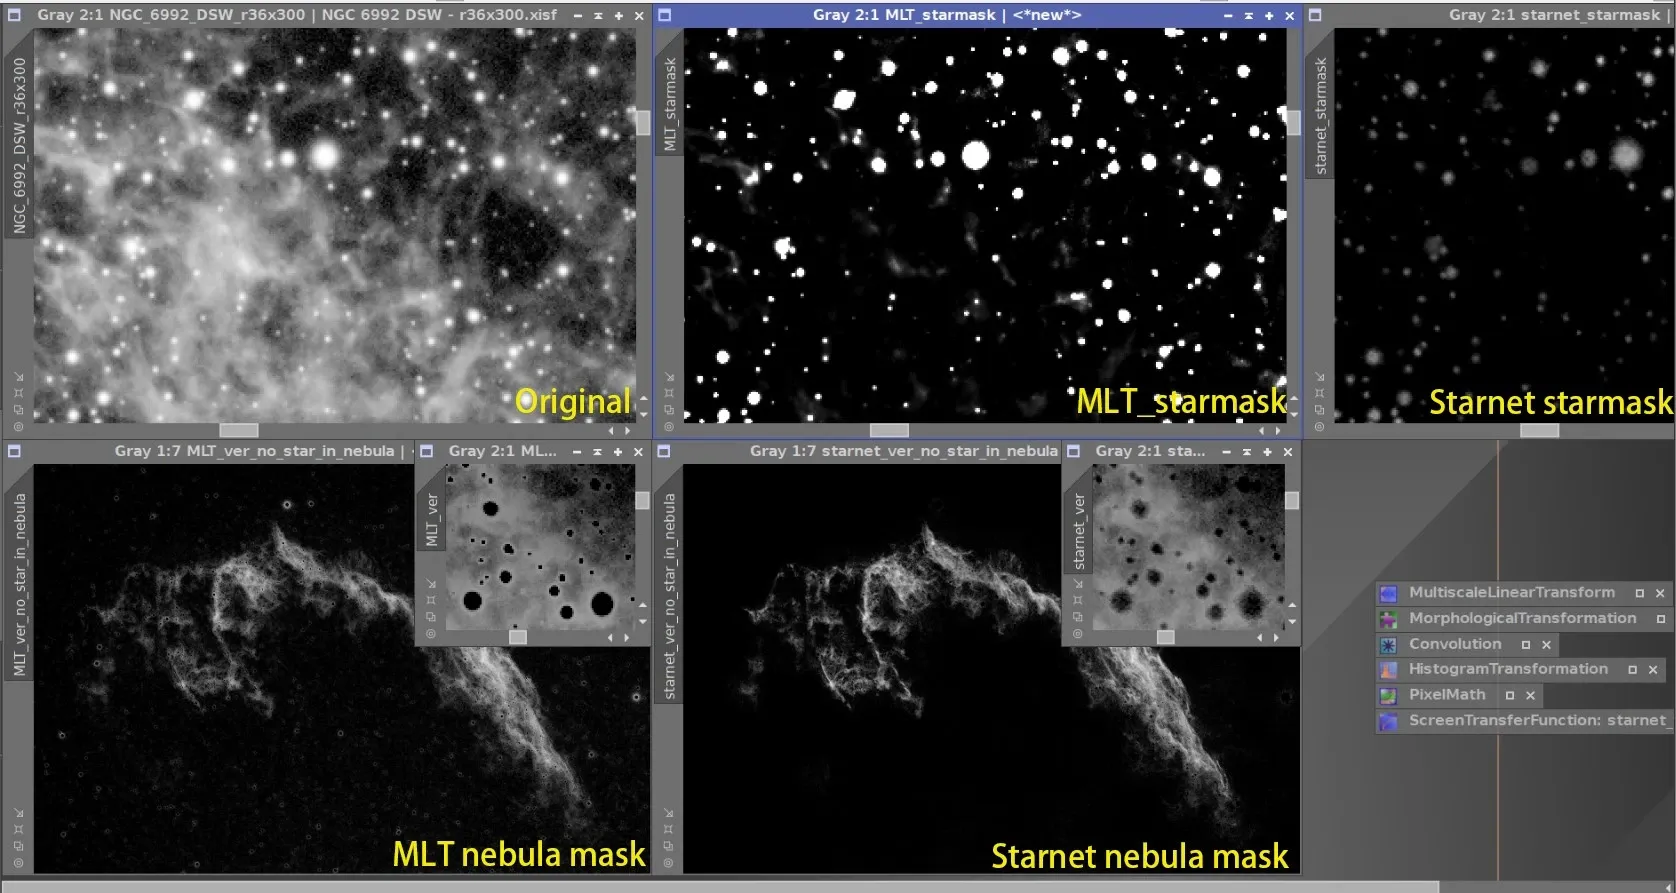
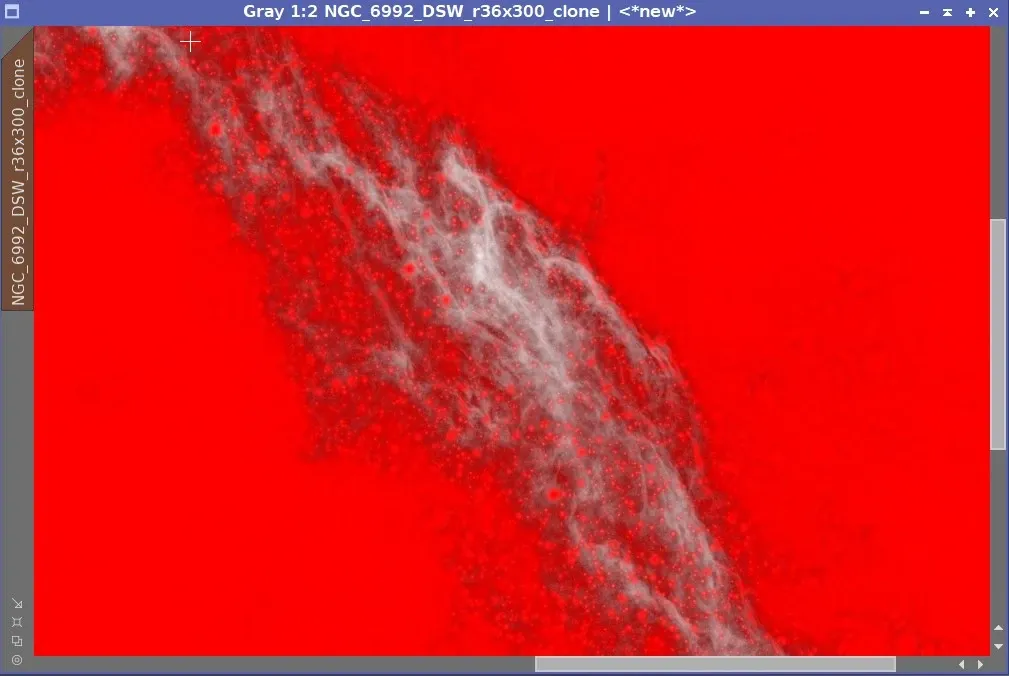
Of course, the nebula masks obtained above are only first drafts and need further adjustment before they can actually be used—for example, Binarize, Dilation, Histogram Transformation, Curve Transformation, and so on. The finished, ready-to-use result is shown further down (the red one), and the principle is simply: mask where it should be masked (such as stars and background), and don’t mask where it shouldn’t be (nebulosity).
Why I Don’t Recommend Using Photoshop’s Selection to Do It
Finally, a word on the selection-based mask-making approach from those teaching materials in Photoshop. It’s certainly simple and convenient, but the downside is that it selects too large an area, and the stars within the selection are still there. As a result, while enhancing the nebulosity you simultaneously enhance the stars inside the selection, causing the stars inside the selection to differ from those outside it—which is exactly what we want to avoid.